
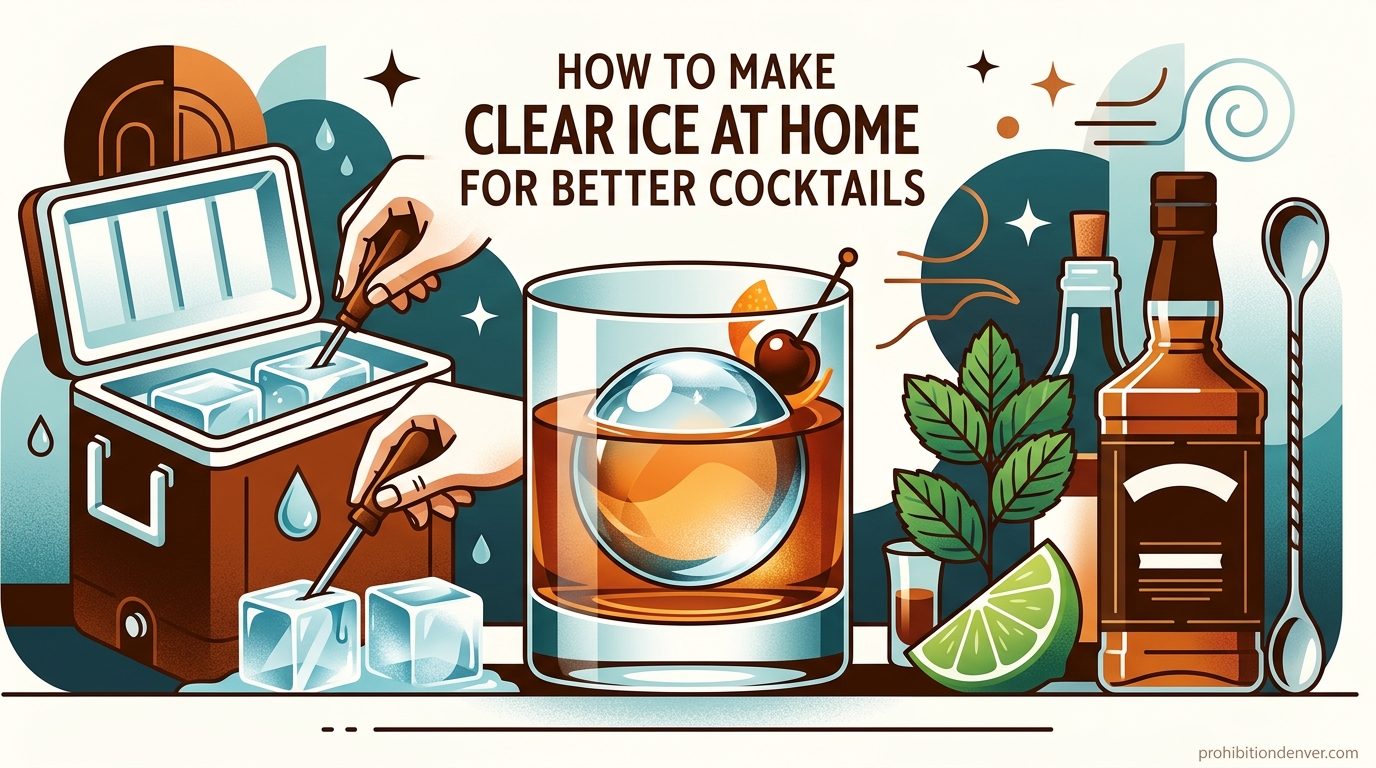
Have you ever wondered why the ice in your home cocktails looks nothing like what you get at a proper craft bar? That crystal clear, glass-like ice is not a magic trick reserved for professionals. In fact, after spending three months testing different techniques in my own kitchen, I can tell you that making clear ice at home is entirely possible with minimal equipment.
This guide will walk you through exactly how to make clear ice at home for better cocktails. You will learn the science behind cloudy ice, three proven methods ranging from simple to advanced, and the troubleshooting tips that took me weeks to figure out. Whether you want perfect ice spheres for your Old Fashioneds or large cubes for your Negronis, the techniques here will get you there.
Table of Contents
Why Clear Ice Matters for Cocktails
Clear ice is not just about looks, though the visual appeal is undeniable. When you drop a perfectly transparent cube into a whiskey glass, it signals that you care about the details. But there are two functional reasons why craft cocktail bars insist on clear ice.
First, clear ice melts slower than cloudy ice. The trapped air bubbles and impurities in regular ice create weak points that cause it to break apart quickly when introduced to room-temperature spirits. Clear ice is denser and maintains its structure longer, which means less dilution over the course of your drink.
Second, geometry matters. Large format clear ice, whether cubes or spheres, has a lower surface area to volume ratio than standard ice tray cubes. A single large cube might be the same volume as five small cubes, but it has significantly less surface area exposed to the liquid. Less contact surface means slower melting. This is why serious cocktail enthusiasts obsess over clear ice spheres for whiskey and large cubes for stirred cocktails like the Old Fashioned.
The Science: Why Regular Ice Turns Cloudy
Understanding why ice gets cloudy is the key to making it clear. When water freezes in a standard ice tray, it freezes from all directions at once. The outer edges freeze first, trapping dissolved gases, minerals, and air bubbles in the center. As freezing continues, these impurities get compressed into the middle, creating that white, cloudy core you see in every standard ice cube.
The solution is called directional freezing. By controlling which direction the freezing happens, you can push all those impurities to one side before they get trapped. In a typical home freezer, this means insulating the sides and bottom of your water container so freezing only happens from the top down. The impurities get pushed to the bottom, leaving the top portion crystal clear.
This principle is exactly how commercial clear ice machines work, and it is the same technique you will use with the cooler method below. The key is patience and proper setup.
How to Make Clear Ice at Home: Three Methods
I tested three distinct approaches to making clear ice at home over the course of 90 days. Each method has different requirements, costs, and results. Choose the one that fits your budget, freezer space, and patience level.
Method 1: The Boiling Water Technique
This is the simplest method and requires no special equipment beyond a kettle and your standard ice tray. The theory is that boiling water removes dissolved gases, which should result in clearer ice.
Here is how to do it: Bring water to a rolling boil and let it cool to room temperature. Boil it a second time and let it cool slightly. Pour the warm water into your ice tray and freeze. The double boiling helps drive out dissolved air.
Does it work? Partially. This method produces ice that is clearer than standard tap water ice, but it is not fully transparent. You will still see some cloudiness, especially in the center. However, if you are just getting started or do not have freezer space for the cooler method, this is a decent entry point. In my testing, boiled water ice was about 40 percent clearer than standard ice.
Method 2: The Cooler Method (Directional Freezing)
This is the method that bartenders and serious home enthusiasts use. It produces truly professional-quality clear ice with minimal investment. You will need a small cooler, specifically the hard-sided insulated kind with a lid.
Equipment needed:
- Small hard-sided cooler (6 to 10 quart capacity works best)
- Filtered or distilled water (filtered tap water works fine)
- Serrated knife or ice pick
- Mallet or cleaver for splitting
- Freezer space for the cooler
Step-by-step instructions:
- Fill your cooler with filtered water, leaving about an inch of space at the top. Do not use the lid.
- Place the open cooler in your freezer. The insulation in the cooler walls prevents freezing from the sides and bottom.
- Let it freeze for 18 to 30 hours depending on your freezer temperature. The water will freeze from the top down.
- Check the ice block after 18 hours. You want the top layer frozen solid but the bottom still liquid. This is critical.
- Remove the cooler and flip it over. The unfrozen water will drain out, leaving a block of clear ice on top with cloudy ice at the very bottom.
- Let the block sit at room temperature for 10 to 15 minutes before cutting.
The timing is the hardest part to get right. In my freezer, which runs at 0 degrees Fahrenheit, it takes about 24 hours to get a perfect block. If you freeze too long and the entire block solidifies, you will have clear ice on top but cloudy ice throughout the bottom half. If you remove too early, the block is not thick enough to work with.
Based on Reddit user experiences I found, many people have success using a simple metal insulated tumbler if a cooler is too large for their freezer. The principle is the same: the insulation prevents side freezing.
Method 3: Clear Ice Molds
If you prefer convenience over the DIY approach, silicone clear ice molds offer a middle ground. These specialized molds use the directional freezing principle built into their design. They have insulated sides that force top-down freezing.
The molds typically produce one large cube or sphere at a time and cost between 15 and 40 dollars. In my testing, they work reasonably well but have some limitations. The ice is clearer than standard trays but often has small bubbles trapped near the bottom. They also take up considerable freezer space relative to their output.
Where molds shine is consistency. Once you dial in the timing for your specific freezer, you get repeatable results without the fuss of cutting a large block. They are also significantly faster than the cooler method, typically producing ice in 12 to 18 hours.
Cutting and Carving Your Ice Block
Once you have your clear ice block from the cooler method, you need to cut it into usable pieces. This is where technique matters. Rush this step and your beautiful clear ice will crack and shatter.
Tempering is critical. Before cutting, let your ice block sit at room temperature for 10 to 15 minutes. This allows the temperature to equalize throughout the block. If you try to cut straight from the freezer, thermal shock will cause cracking. This was the biggest mistake I made in my first attempts, and forum discussions confirm it is the most common error beginners make.
Cutting technique: Use a serrated knife to score a line where you want to cut. A bread knife works well. Score deeply, at least halfway through the block. Then place the edge of the blade in the score line and give the back of the knife a sharp tap with a mallet or the back of another knife. The ice should split cleanly along the score line.
For smaller cubes, repeat the scoring and splitting process. For spheres, you will need an ice pick or specialized ice carving tools to chip away corners and round the edges. This takes practice. My first attempts looked more like lumpy rocks than spheres, but after a dozen tries I was producing respectable clear ice spheres.
Water Quality: Tap vs Filtered vs Distilled
The type of water you use has a significant impact on your results. I tested all three options over multiple batches to see what actually matters.
Tap water produces usable results but the clarity varies based on your local water quality. Hard water with high mineral content creates more cloudiness. In my area, tap water ice had visible streaks and was noticeably less clear than filtered alternatives.
Filtered water from a standard pitcher filter like Brita or PUR produced excellent results. This is what I recommend for most people. The filtration removes enough impurities to create truly clear ice without the expense of buying distilled water. Forum users consistently report that filtered water is the sweet spot for cost versus results.
Distilled water produced marginally clearer ice than filtered, but the difference was subtle. Given that distilled water costs significantly more over time, I only recommend it if you are chasing perfection or have particularly poor tap water quality.
Troubleshooting Common Problems
After three months of trial and error, here are the problems you are most likely to encounter and how to fix them.
Ice cracks when cutting: You did not temper long enough. Let the block sit longer at room temperature. Ten minutes is the minimum; fifteen is safer. The ice should have a slight sheen of surface melt before you start cutting.
Results are still cloudy: Check your freezer temperature. If it is too cold, the freezing happens too fast and traps impurities. Try adjusting to around 0 degrees Fahrenheit. Also verify you are removing the block before the bottom freezes solid. The unfrozen water at the bottom is carrying away the impurities. If the entire block is frozen, those impurities are trapped inside.
Timing is inconsistent: Freezer temperatures fluctuate based on how full they are and how often the door opens. Try to start your ice when the freezer has been closed for a few hours. After a few batches, you will learn the exact timing for your specific setup.
Not enough freezer space: This is the most common barrier. The cooler method requires space for the container. Consider the metal insulated tumbler alternative mentioned earlier, or invest in a clear ice mold that takes up less space than a full cooler.
Frequently Asked Questions
How to make clear cocktail ice at home?
Is it worth making clear ice at home?
How do bartenders make clear ice?
How long does clear ice take to freeze?
Can you use tap water for clear ice?
Conclusion
Learning how to make clear ice at home for better cocktails is one of those small upgrades that makes a disproportionate difference in your drinks. The visual impact of a crystal clear sphere floating in a whiskey glass is immediate. The slower melt rate means you can actually taste your cocktail from first sip to last.
Start with the boiling water method if you want to test the concept with zero investment. When you are ready for professional results, invest in a small cooler and try directional freezing. Master the timing and tempering, and you will never go back to cloudy ice trays.
The best cocktail ice is not about having the most expensive equipment. It is about understanding the simple science of directional freezing and having the patience to do it right. Your drinks deserve it.