
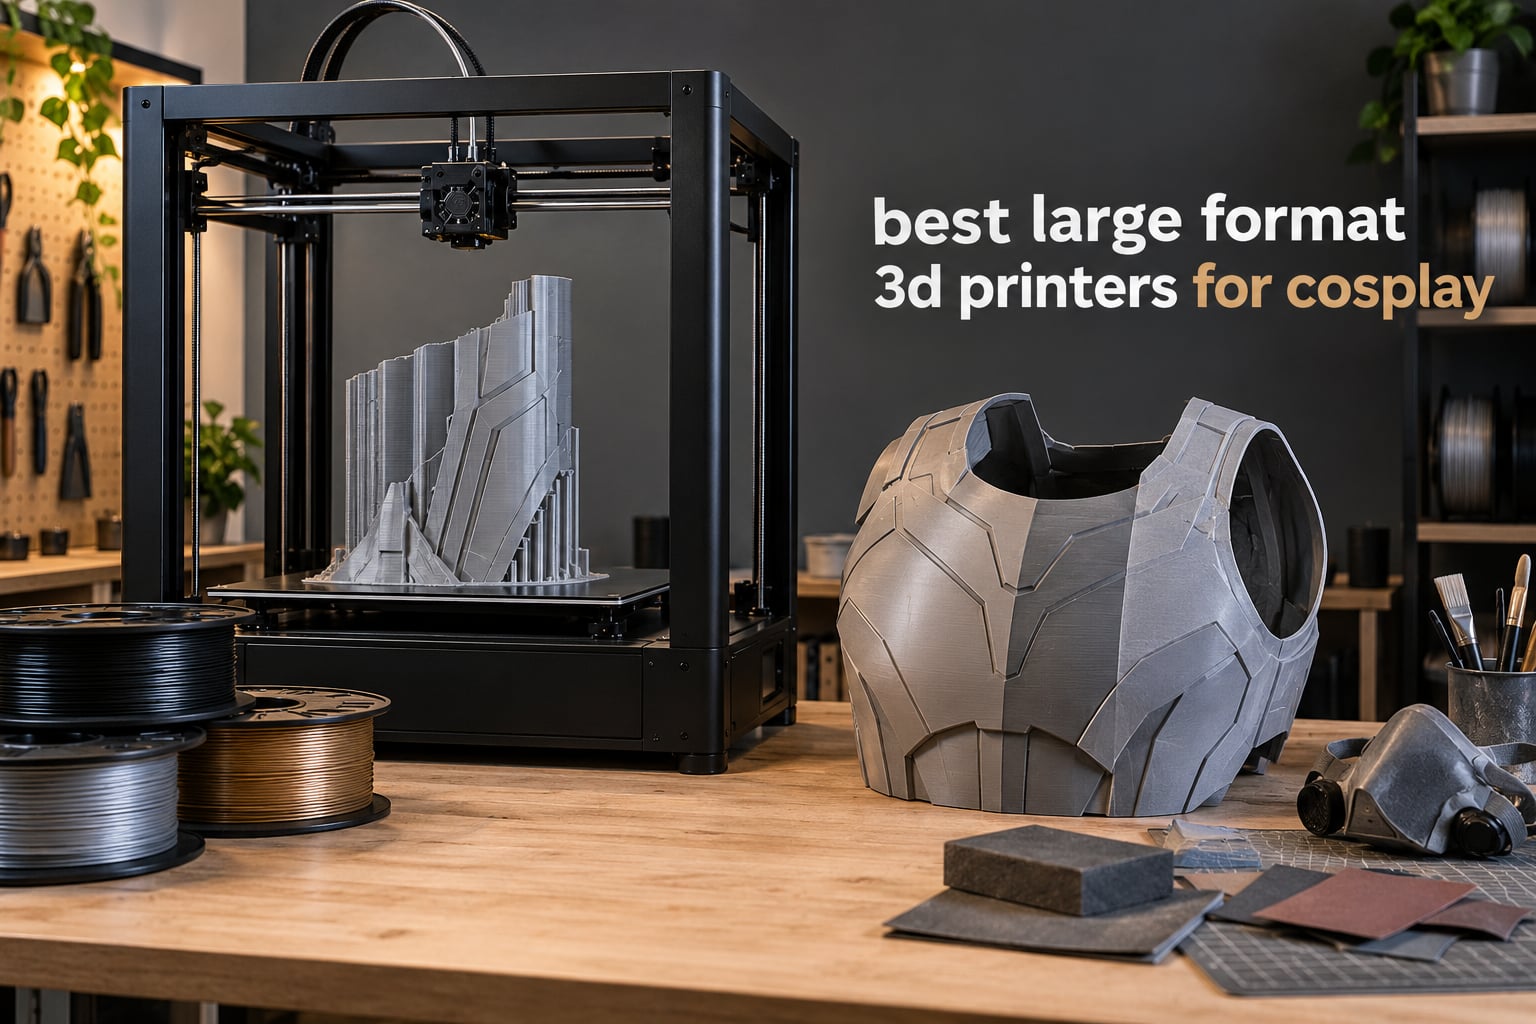
Cosplay armour is decided by geometry. A helmet that prints in two pieces is a helmet with a seam running through the cheek, and a chest plate split into four sections is four seams to sand, fill, prime and paint before a convention deadline ever arrives. Every extra split costs you 15 to 30 minutes of finishing work, and that is on top of the 14 to 38 hours the print itself can take.
That is the whole argument for a large format printer. A machine with a 350mm or 400mm build volume lets you print far more of a costume as one rigid shell, which means fewer seams, fewer glue joints and far less risk of a 30-hour print failing halfway through. We went through ten large format machines here and compared build volume, motion system, chamber control, filament handling and the review data behind each one.
Our criteria were simple. Every printer on this list clears 300mm in at least one axis, because anything smaller turns a full chest plate into a dozen fragments. We also weighted the things cosplayers actually complain about on forums: ABS warping, failures on 30-hour prints, and how much desk space the machine eats. A few picks here are resin machines, included deliberately, because emblems, insignias and small detail pieces are a separate job that filament printers do badly.
If you also print banners or oversized signage for your group, our picks for wide format printers for wallpaper cover that side of the hobby.
Table of Contents
How Big a 3D Printer Do You Actually Need for Cosplay?
For most cosplay builds you want a build volume of at least 300mm on a single axis, and 350mm to 400mm is the sweet spot for helmets, chest plates and oversized props.
A 256mm cube handles pauldrons, gauntlets and helmets in two or three pieces. A 350mm cube turns most helmets into a two-piece job and gets a full chest plate down to two or three sections. At 400mm and above, a full front chest plate or a complete breastplate helmet often prints as a single piece with no seam at all.
Top 3 Picks for Large Format Cosplay Printing
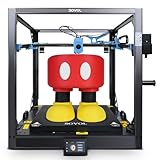
Sovol SV08 MAX
- 500x500x500mm build volume
- 700mm/s CoreXY
- 40000mm/s2 acceleration
- 300C hotend

ANYCUBIC Photon Mono M7 Max
- 298x164x300mm resin plate
- LighTurbo 3.0 COB light source
- 60mm/h print speed
- 1300ml heated vat
LONGER LK5 Pro
- 300x300x400mm build volume
- 90% pre-assembled
- TMC2208 and TMC2209 silent drivers
- 4.3 inch touchscreen
The Sovol SV08 MAX wins this list on raw capability and on the deepest owner base of any machine here, with 1422 reviews behind its 4.1 star average. The ANYCUBIC Photon Mono M7 Max carries the highest review count and the strongest rating profile in the set, which makes it the pick for resin detail work. The LONGER LK5 Pro is the volume-per-pound option if you are starting out and want 300mm of build height without a large commitment.
Quick Overview of All 10 Printers in 2026
| Product | Specifications | Action |
|---|---|---|
| Sovol SV08 MAX |
|
Check Latest Price |
 Creality K2 Plus Combo Creality K2 Plus Combo |
|
Check Latest Price |
| LONGER LK5 Pro |
|
Check Latest Price |
| ANYCUBIC Photon Mono M7 Max |
|
Check Latest Price |
 QIDI Max4 Combo QIDI Max4 Combo |
|
Check Latest Price |
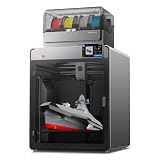 Anycubic Kobra S1 Max Anycubic Kobra S1 Max |
|
Check Latest Price |
 Creality Ender 5 Max Creality Ender 5 Max |
|
Check Latest Price |
 Phrozen Sonic Mega 8K S Phrozen Sonic Mega 8K S |
|
Check Latest Price |
 Snapmaker Artisan Snapmaker Artisan |
|
Check Latest Price |
 Original Prusa XL Original Prusa XL |
|
Check Latest Price |
Two patterns jump out of that table. First, almost every machine above 350mm is a CoreXY design, and that is not a coincidence. On a 30-hour print, a bed slinger has to accelerate and decelerate the entire plate for every short move, and those transitions show up as Z-banding and corner lift on tall armour pieces. CoreXY keeps the mass on the gantry, which is why four of the fastest machines here use it.
Second, chamber control is the dividing line between PLA-only machines and machines that can print ASA and ABS properly. Two picks here have no enclosure at all, and several of the enclosed ones stop short of a heated chamber. That single spec decides whether you can print a heat-resistant prop shell or not.
1. Sovol SV08 MAX – Best Overall Large Format Printer for Cosplay
Sovol SV08 MAX CoreXY 3D Printer, Voron 2.4 700mm/s High Speed 3D Printers
500x500x500mm volume
CoreXY 700mm/s
40000mm/s2 accel
300C hotend
86.8 lb
Pros
- 500mm cube prints full helmets and oversized props as single pieces
- CoreXY stays precise at 700mm/s on heavy models
- Eddy current sensor automates first layer contact
- 300C hotend covers ABS ASA PA and PC variants
- Built-in 1280x720 camera with time-lapse and remote monitoring
Cons
- Heated chamber is a separate module so ASA warping control is extra
- 13% one-star reviews point to early hardware variability
This is the machine we keep coming back to. The 500mm cube is the largest build volume in the group, and that size changes what you can attempt. A full breastplate, a one-piece chest shell or a sword blade tall enough to be visible from the back of a convention hall all fit inside a single print, which removes the seam problem entirely for those pieces.
The motion system is where the time savings come from. CoreXY with 700mm/s top speed and 40000mm/s2 acceleration means infill and perimeters move quickly without the ringing you get from lighter frames, and the die-cast construction keeps that stiffness consistent across a full day of printing. Community print-time reports for helmets range from around 14 hours on modern CoreXY hardware up past 38 hours on older open-frame machines, so the motion system is the single biggest lever on your weekend.
The eddy current bed scan is worth calling out for first-time large format owners. It reads bed height without a physical probe, so there is no paper test and no manual mesh after a bed gets bumped. On a plate this size, a corner that is slightly off will fail the first layer halfway across, and scanning removes that entire failure mode.
The 300C hotend and 50mm3/s high-flow nozzle handle everything from PLA and PETG through to ABS, ASA, PA and PC blends. That matters for props that have to survive a hot car park on the way to an event, where PLA becomes brittle and ABS or ASA does not. A high-flow nozzle also means thicker walls for wearable armour without doubling the print time.
Who the Sovol SV08 MAX suits
This is the printer for a cosplayer building a full armour set rather than a single accessory. If your list includes a helmet, a chest plate and a pair of pauldrons, the 500mm cube removes most of the splitting decisions before you even open the slicer. Reviewers consistently single out the build volume and the speed of the platform as the two reasons they bought it.
It also suits anyone who wants carbon fibre reinforced filament without buying a second machine, since the 300C hotend covers ABS-CF and PA-CF. The built-in camera with cloud monitoring is genuinely useful for long unattended runs, because a spaghetti failure at hour nine is otherwise invisible until you walk in.
Who should skip the Sovol SV08 MAX
Skip it if your workspace is a normal desk. At 28 by 27.6 by 29.5 inches and 86.8 pounds, this needs a floor-standing frame and a table rated for it, and the bed has to be reachable from more than one side when you remove a large plate.
Also skip it if ABS and ASA are your main materials. The heated chamber is only a reserved interface, not a fitted module, so you would be buying the enclosure separately to get the warping control those filaments need. With 13% one-star reviews in the rating mix, budget time for early hardware troubleshooting too.
2. Creality K2 Plus Combo – Best for Multi-Colour Armor Pieces
Creality K2 Plus Combo 3D Printer, Multi Color Printing with New CFS 600mm/s High-Speed Full Auto-Leveling Dual Al Camera Next-Gen Direct Drive Extruder Large Build Volume 13.78×13.78×13.78inch
350x350x350mm volume
600mm/s
16 colors via CFS
60C chamber
350C nozzle
Pros
- 350mm cube in a stiff die-cast frame holds large armour plates steady
- CFS system cuts painting work on two-tone costume pieces
- 60C chamber and 350C nozzle take ASA and PPA
- Dual Z motors keep the bed firm through tall vertical moves
- Dual AI cameras catch spaghetti and tune flow rate
Cons
- 17% one-star reviews point to real reliability complaints
- CFS units stack up and add footprint beyond the machine
The K2 Plus Combo answers a question cosplayers ask constantly: should you print in colour or paint by hand? Four CFS units link together for up to 16 colours with RFID filament detection and automatic relaying, which turns a striped pauldron or a two-tone chest plate into a single job with no masking and no second colour change.
Against an airbrush, multi-colour printing wins on repeatability and on small emblem work. It loses on soft gradients, weathering and anything that needs a blended transition, so serious painters usually still airbrush the base and use CFS for hard colour breaks. The practical answer for most cosplayers is that CFS handles the detail panels, leaving the airbrush for the big surfaces.
The thermal side of this machine is what separates it from the open-frame options. The chamber holds up to 60C and the hardened steel nozzle is rated to 350C, which puts ASA and PPA firmly on the menu. That is the combination you want for a prop that has to keep its shape through a hot weekend, and it is the reason we would not consider an unheated machine for armour at all.
Eighteen smart sensors and two AI cameras work together here. One camera watches the chamber for spaghetti failures, the other watches the toolhead and adjusts flow. Dual independently motorized Z axes tilt the bed automatically before leveling, which on a 350mm plate removes a common source of first-layer failure.
Who the Creality K2 Plus Combo suits
This is the pick for cosplayers whose characters have strong two-tone designs, especially where the colour break follows a hard geometric line. Emblems, shoulder trim, helmet stripes and gauntlet cuffs all come out of one job with the CFS system doing the changes for you.
It also suits anyone printing ASA or PPA who wants that material choice without bolting an enclosure onto an open frame. The 350mm cube is a good match for a two-piece helmet and a split chest plate, and at 70.4 pounds it is one of the lighter machines here relative to what it does.
Who should skip the Creality K2 Plus Combo
The reliability spread is the reason to pause. With 17% one-star reviews in the mix, a meaningful share of owners report firmware and hardware problems, and cosplay prints are long enough that a fault at hour 20 is expensive. Buy it if you can tolerate some troubleshooting, not if you need a machine that runs unattended for a week.
Also think about footprint. Each CFS unit stacks onto the machine and adds depth beyond the 16.1 by 15.4 by 18.7 inch body, so you need clearance on the sides for the boxes, not just floor space for the frame.
3. LONGER LK5 Pro – Best Value Large Format Printer
LONGER LK5 Pro 3 3D Printer, 11.8×11.8×15.7in Large Printing Size with Resume Printing FDM 3D Printer Fully Open Source Motherboard Upgrade TMC 2209 3D Printers 95% Pre-Assembled Ideal for Beginners
300x300x400mm volume
90% pre-assembled
Silent TMC drivers
4.3 inch touchscreen
29.2 lb
Pros
- 300x300x400mm volume is generous for the tier
- Silent TMC drivers and reinforced frame keep noise down
- Most owners print within 20-30 minutes of unboxing
- Oversized bed knobs make manual leveling simple
- Power-loss resume restarts long prints reliably
Cons
- Frame and gantry shake more than heavier machines and need damping
- Slow bed and hotend heat-up times
- Runout sensor and rear power switch placement draw complaints
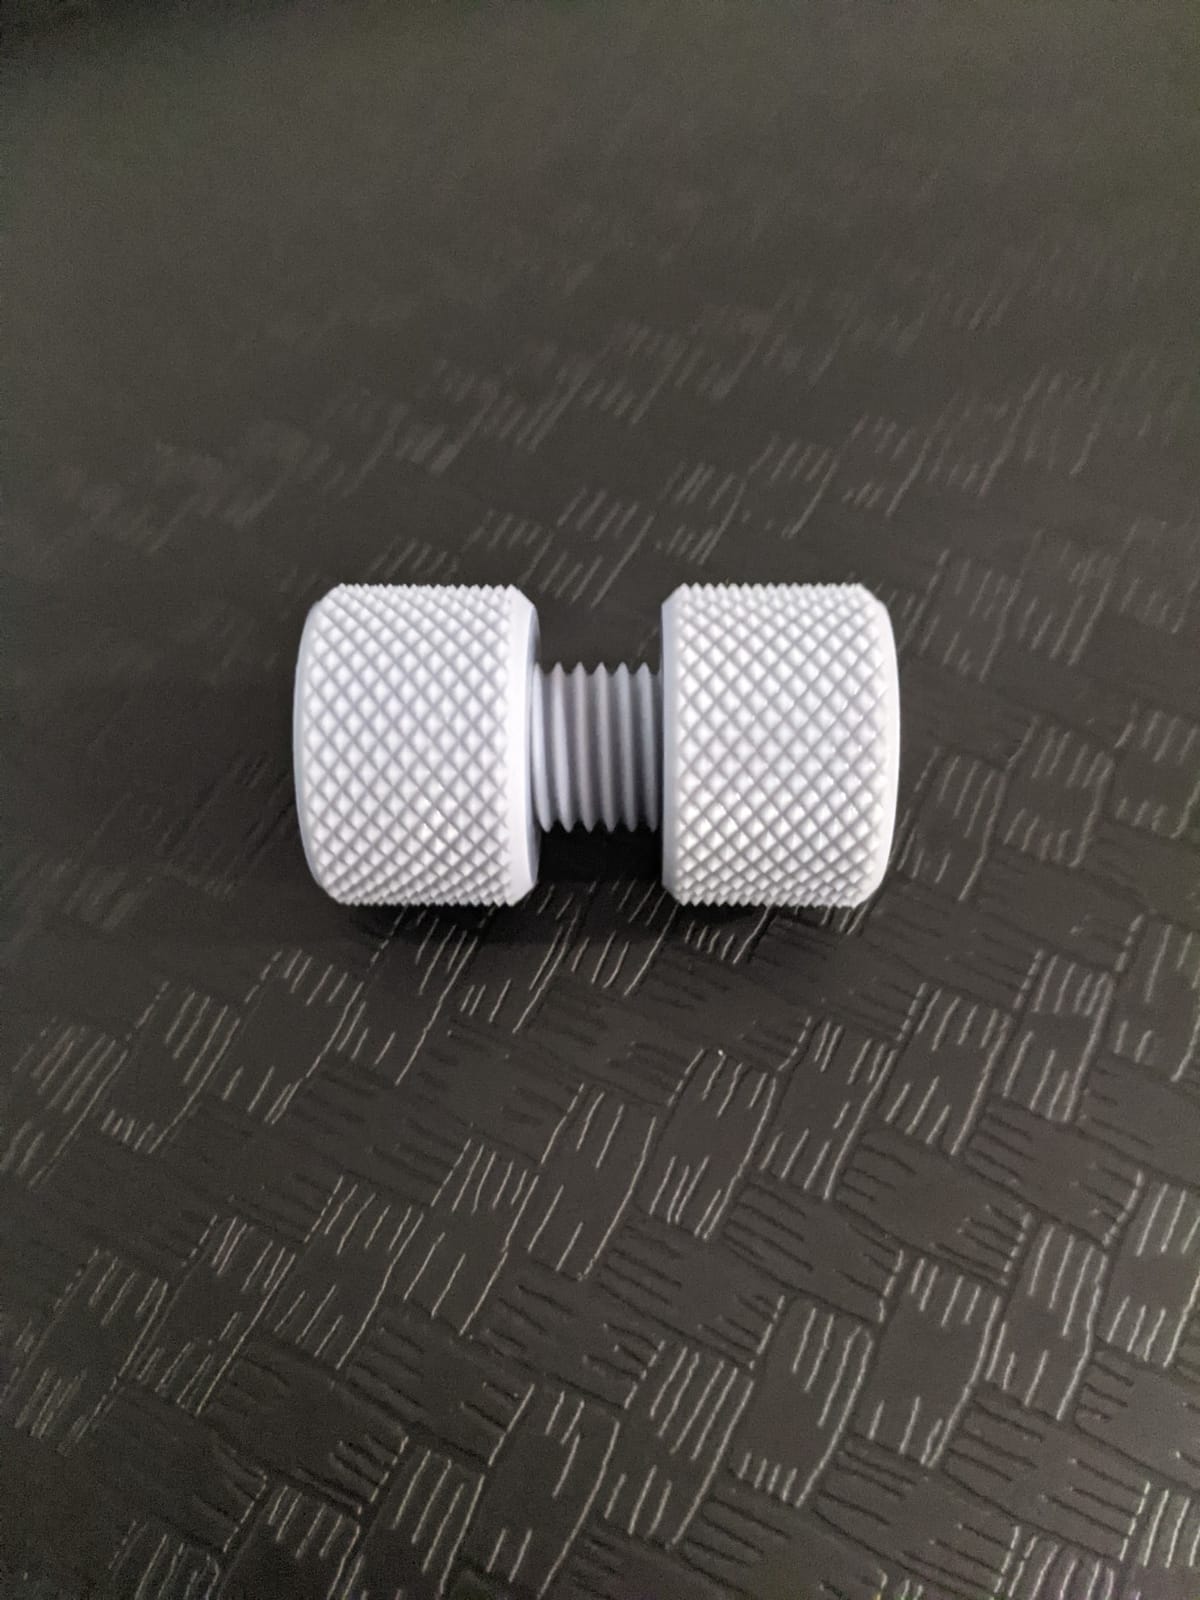
The LK5 Pro is the pragmatic pick, and the one we would hand to a cosplayer building their first armour set. It gives you 300 by 300 by 400mm, which is the threshold where helmet splitting drops to two pieces and a chest plate becomes a two or three piece job instead of six. For most first-time builds, that is the difference between a weekend of printing and a weekend of sanding.
The 400mm Z height is the quiet hero here. Tall props, staff sections, boot shins and forearm armour are limited by height far more often than by width, and at 29.2 pounds this is the lightest machine in the group by a wide margin, so you can move it between a desk and a shelf when the job is done.
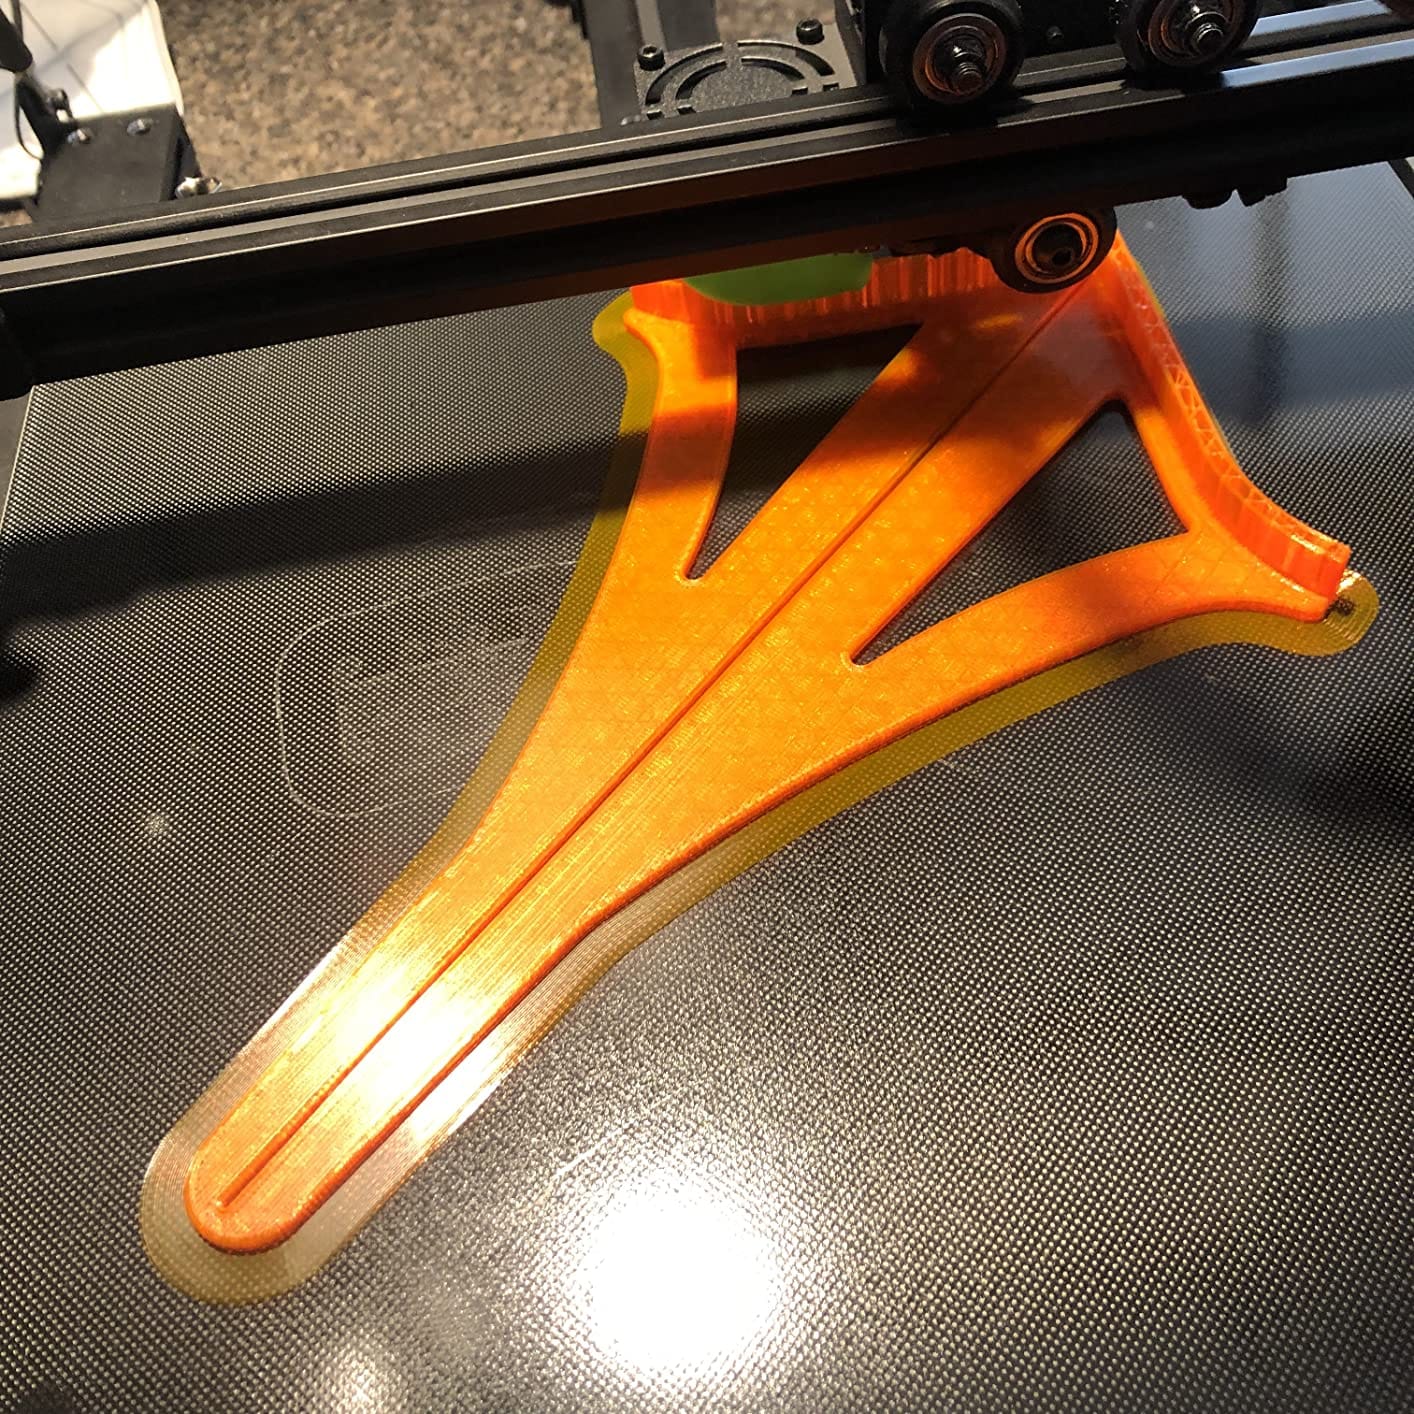
Noise matters more than most spec sheets admit, especially in a flat or a shared house. The TMC2208 and TMC2209 ultra-silent stepper drivers combined with reinforced diagonal rods mean this machine is quieter than its size suggests. If you are printing a 25-hour chest plate overnight, that difference is the difference between sleeping and not.
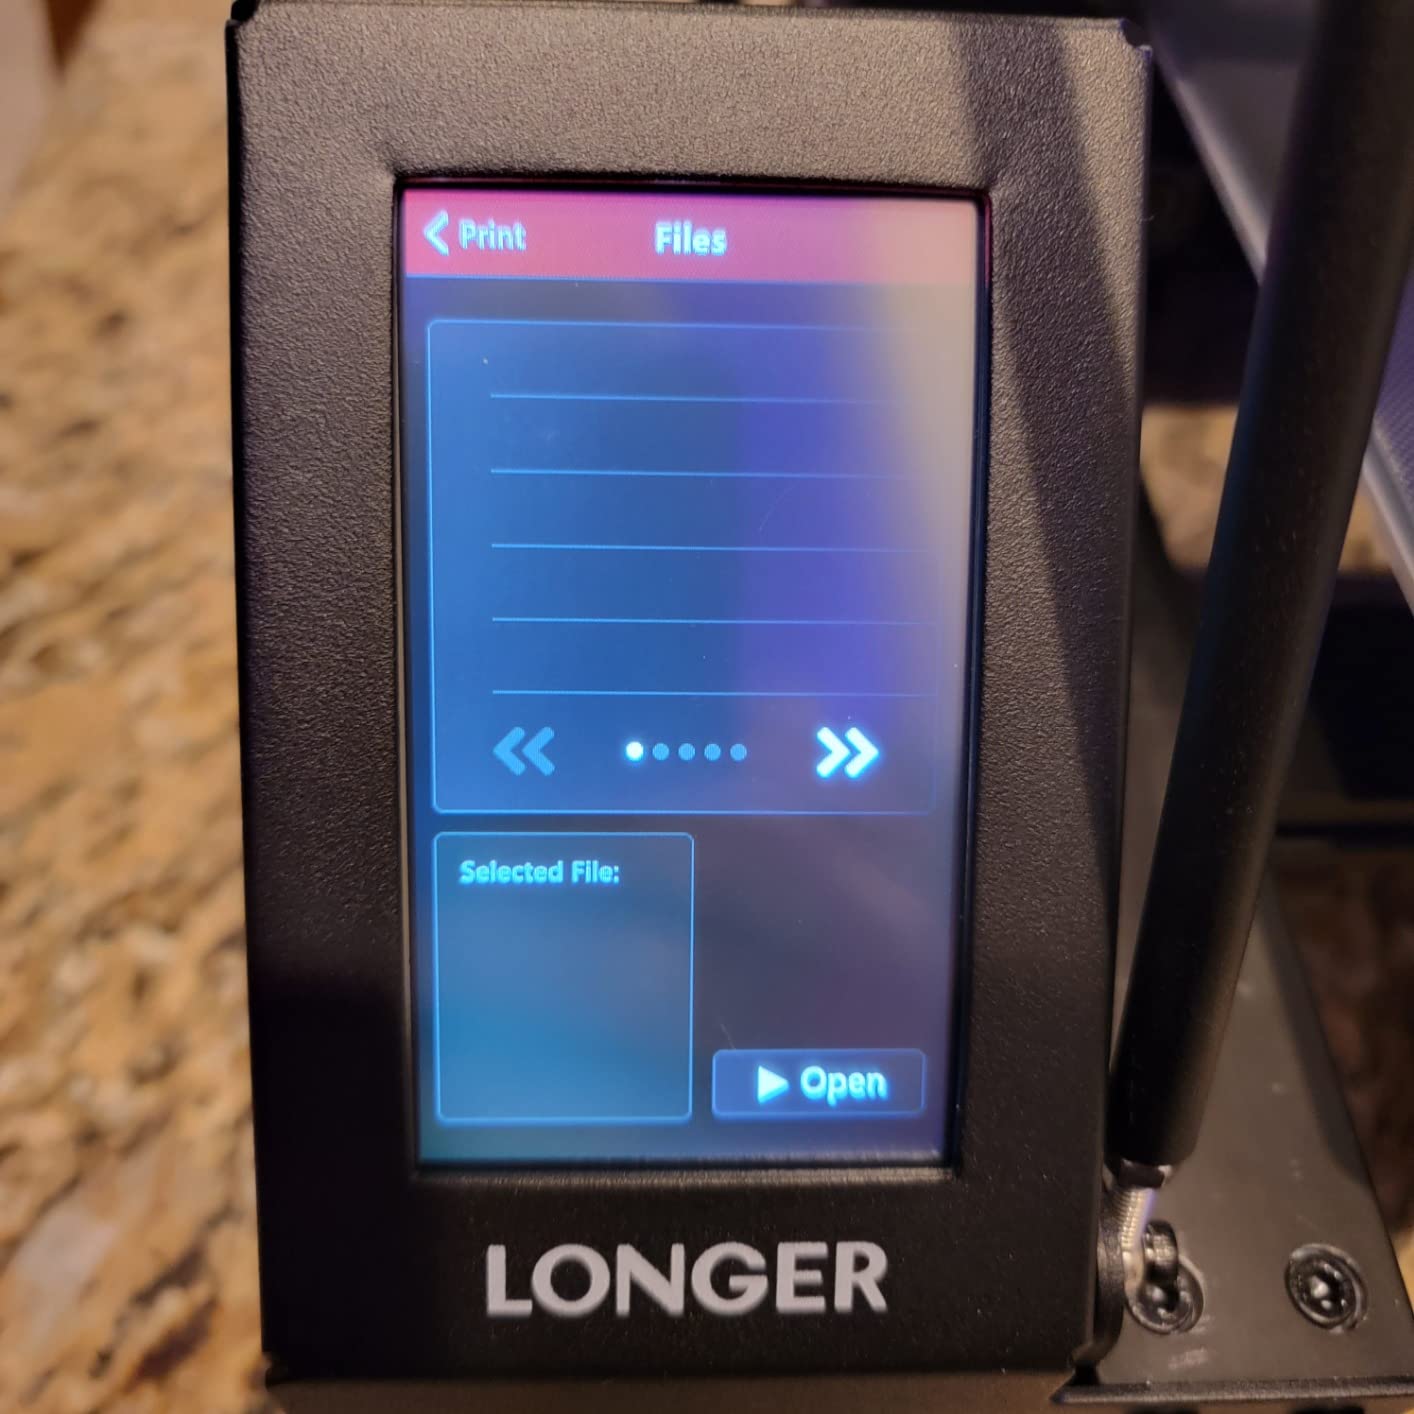
The open-source motherboard and firmware are a genuine advantage for cosplayers who outgrow the stock setup. If the bundled software limits you later, you can change boards and firmware, and the 4.3 inch colour touchscreen makes menu navigation quick enough that you rarely need a computer for a routine job.
Who the LONGER LK5 Pro suits
It suits first-time large format owners and anyone printing from a small apartment. At 300 by 300 by 400mm it clears the build-volume threshold that matters, and the 90% pre-assembly means most owners are printing within 20 to 30 minutes of unboxing rather than spending a weekend on assembly.
It also suits anyone who wants an open-source board. If you plan to add mods, change firmware or move to Klipper-based control later, this machine gives you that room. Reviewers describe long-time owners calling it a capable quiet workhorse that punches above its tier on build volume.
Who should skip the LONGER LK5 Pro
Skip it if you plan to print ASA or ABS. There is no enclosure and no heated chamber, so a large flat armour plate in those materials will warp at the corners. That is exactly the failure cosplayers hit hardest, because the warp appears at the end of a long print.
Skip it if you need dimensional precision on tall parts. Owners report the frame and gantry shaking more than heavier competitors, which needs damping to fix. Heat-up times are also slow, and the runout sensor and rear power switch placement draw regular complaints, so allow for some setup patience.
4. ANYCUBIC Photon Mono M7 Max – Best for Resin Emblems and Fine Detail
ANYCUBIC Photon Mono M7 MAX Resin 3D Printer, 13.6’’ 7K Large Resin Printer
298x164x300mm resin plate
LighTurbo 3.0 COB source
60mm/h
1300ml vat
52.8 lb
Pros
- 13.6 inch class plate prints full-size masks and props as one piece
- LighTurbo 3.0 optics give even exposure and minimal layer lines
- 60mm/h is a large jump over earlier large resin machines
- Vat temperature control and auto-fill improve first-layer success
- Strongest rating profile in this set
Cons
- Resin still needs washing curing and careful handling
- 10% one-star reviews reflect the MSLA learning curve
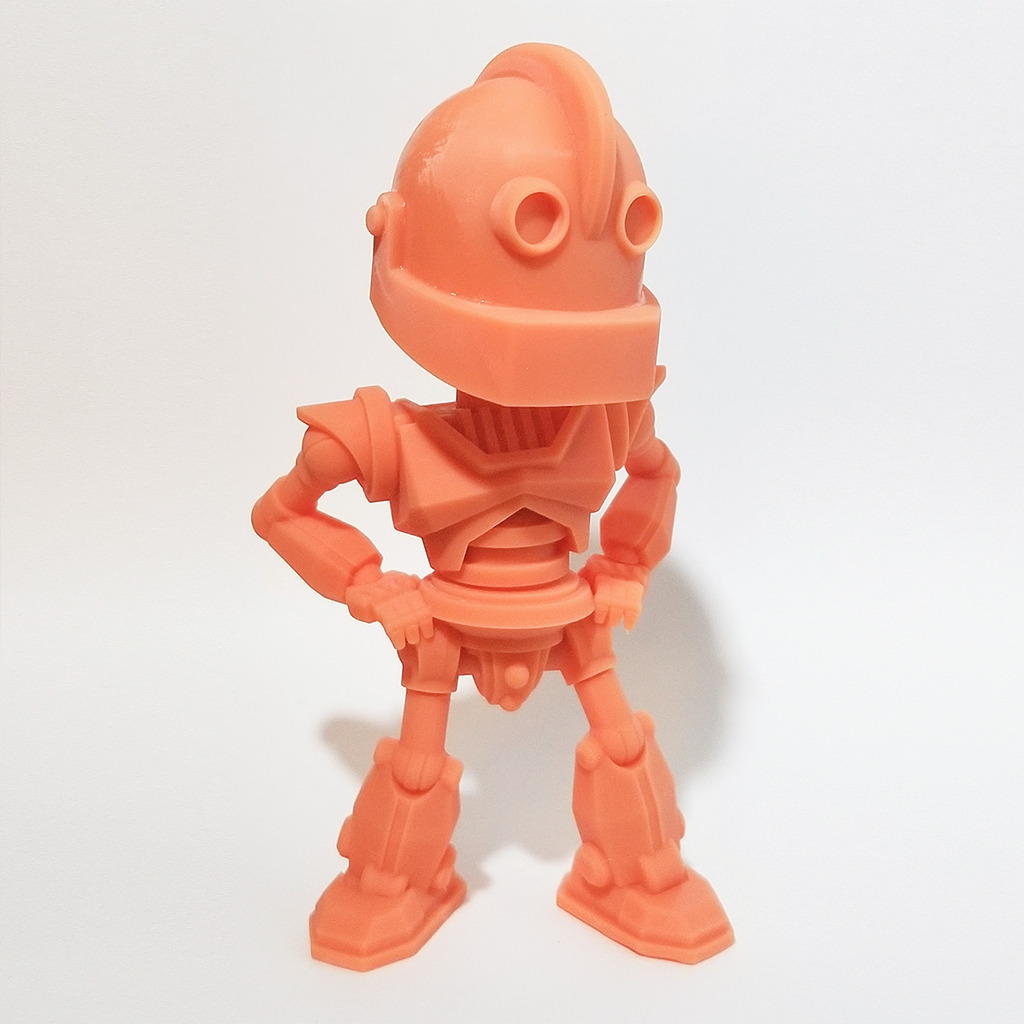
This is a resin machine and it earns its place, because a lot of cosplay detail work is simply not an FDM job. Emblems, chest insignia, buckle casts, cap badges and weapon hilts need surface quality that a 0.4mm nozzle cannot deliver, even on a very good filament printer. The 298 by 164 by 300mm plate here prints a full-size mask or a forearm armour shell in one piece.
The optical system is the reason for the 4.3 star average across 2063 reviews, the highest review count in the group. The LighTurbo 3.0 COB source with a Fresnel lens is factory calibrated and delivers light uniformity over 90% across the plate, which is what keeps layer lines from showing up as banding across a curved surface like a helmet cheek.
Throughput matters when you are batch printing. A 60mm/h maximum with intelligent release 2.0 is a 200% speed gain over the previous generation large resin machine, and dynamic vat temperature control with resin auto-fill improves first-layer reliability, which is where most resin failures happen on large plates.
The flip-open cover that clears 45 degrees is a small ergonomic win that matters when you are draining a large plate. The 1300ml vat with integrated release film holds enough resin for a full armour detail run without a refill halfway through.
Who the Photon Mono M7 Max suits
This suits cosplayers whose signature detail is the paint job rather than the shape. If your build has a chest emblem, shoulder insignia, a belt buckle or a weapon guard, resin captures the edge sharpness and surface flatness that airbrushing needs as a base. Pairing it with a filament printer for the shells is the workflow most experienced cosplayers converge on.
It also suits batch jobs. One exposure cycle can hold many identical small parts, so casting replacements for a damage-prone detail takes minutes rather than an evening. The even exposure across the whole plate means you can place parts anywhere on it rather than clustering them in the centre.
Who should skip the Photon Mono M7 Max
Skip it if you want large structural shells. A 298 by 164 by 300mm plate cannot hold a chest plate, and resin is brittle where filament prints can use thick walls and solid infill. This is a detail machine, not a replacement for the large format printer.
Skip it if you have never worked with MSLA resin before. Washing, curing and handling are all still part of the process, and the 10% one-star share in the reviews reflects that learning curve rather than a defect rate. Gloves, ventilation and a wash station are part of the running cost.
5. QIDI Max4 Combo – Best for High-Temperature and Fibre-Reinforced Filaments
QIDI Max4 Combo 3D Printer, 390×390×340mm Build Volume, 65℃ Heated Chamber
390x390x340mm volume
65C chamber
800mm/s speed
120 lb
Pros
- 390mm plate plus a 65C chamber suits ABS and carbon-fibre armour shells
- Automatic calibration on power up with no manual leveling step
- Closed-loop X/Y motors and anti-backlash Z keep layers even
- AI camera pauses on spaghetti failures
- Expandable to 16 colours with QIDI BOX
Cons
- 120 lb and a 28x28x30 inch body need a purpose-built table
- BOX magazine can tangle during retraction
- Polar Cooler and QIDI BOX cost extra and BOX sync is inconsistent
The Max4 Combo is the most thermally capable machine in this list, and it is the only one with a 4.4 star average. A 65C active heated chamber combined with a 40mm3/s high-flow hotend and hardened steel nozzle opens up ABS-CF, PC and PPS-CF, which are the materials you reach for when a prop has to be genuinely tough rather than merely thick.
The full-surface silicone heated bed is the detail that impressed owners most. On a plate this wide, a conventional bed surface has hot and cold zones, and a large flat armour panel will lift wherever the corners sit over the transition. A silicone surface spread across the full width is a direct answer to the warping problem cosplayers complain about most often with ABS.
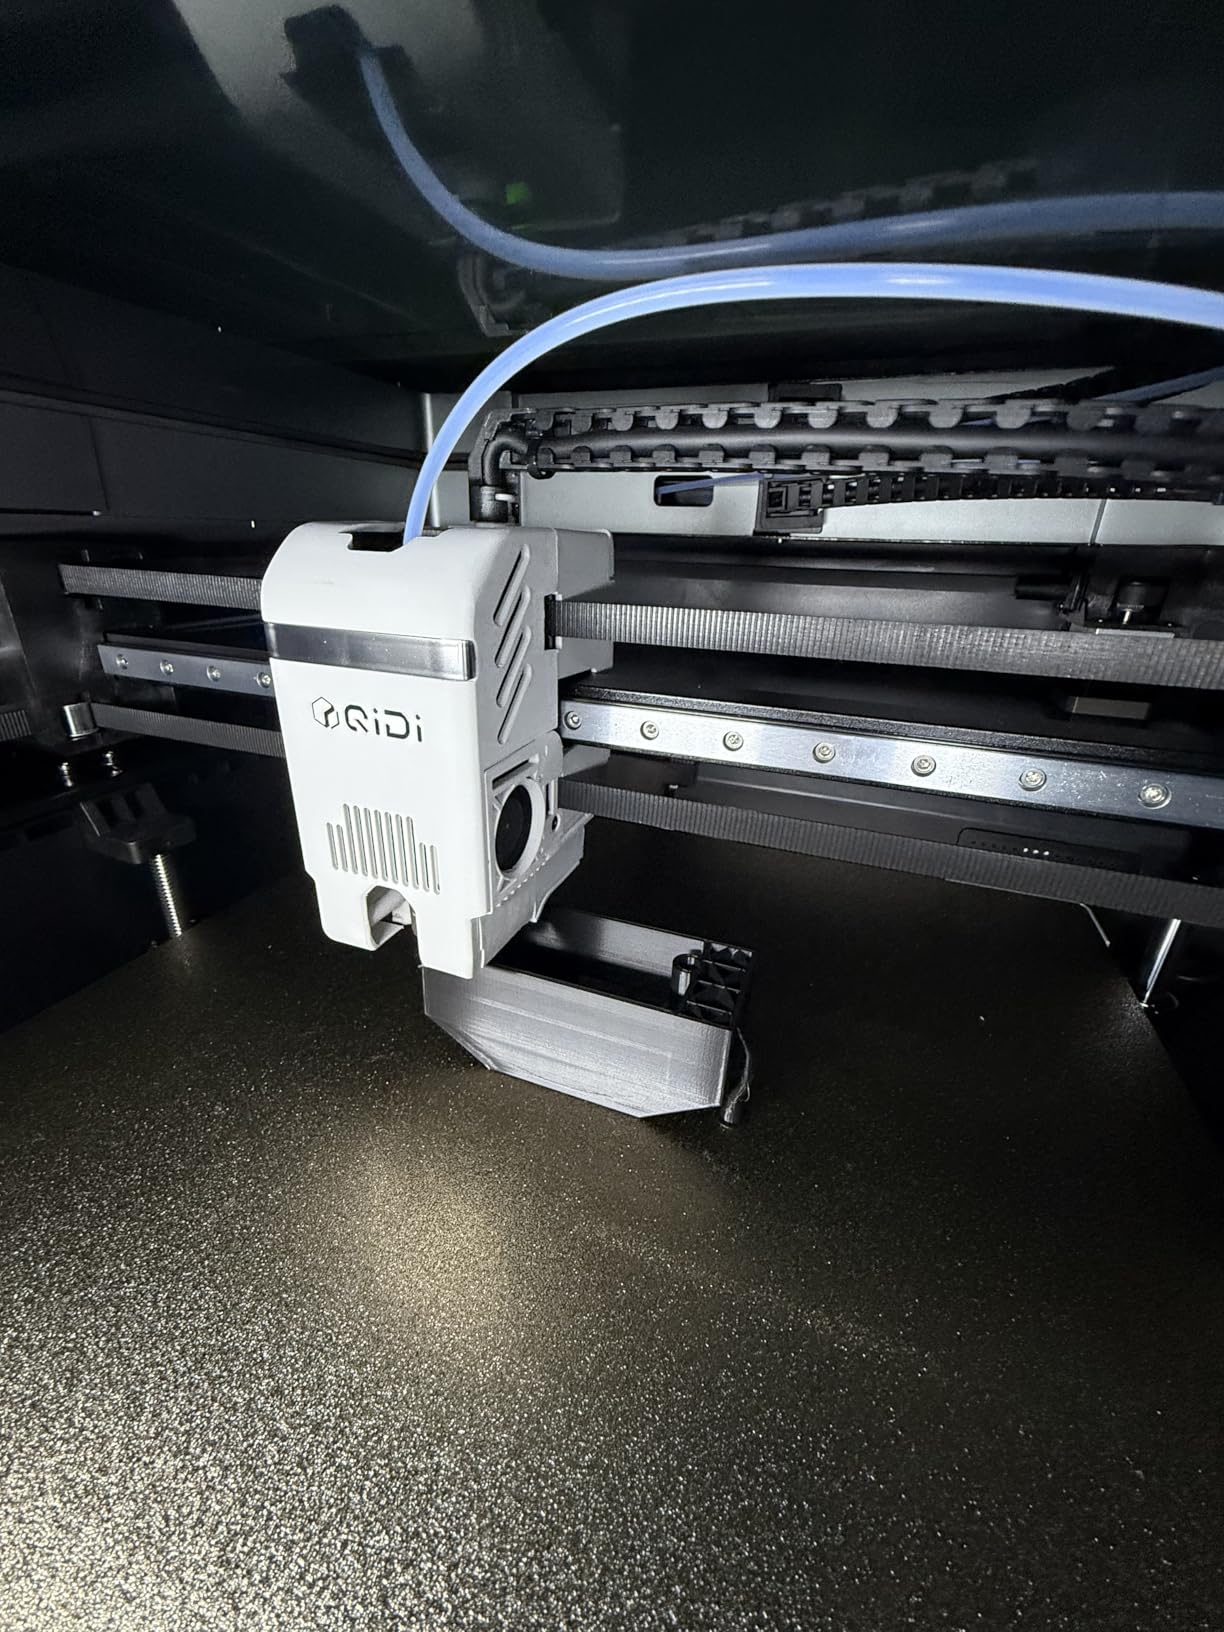
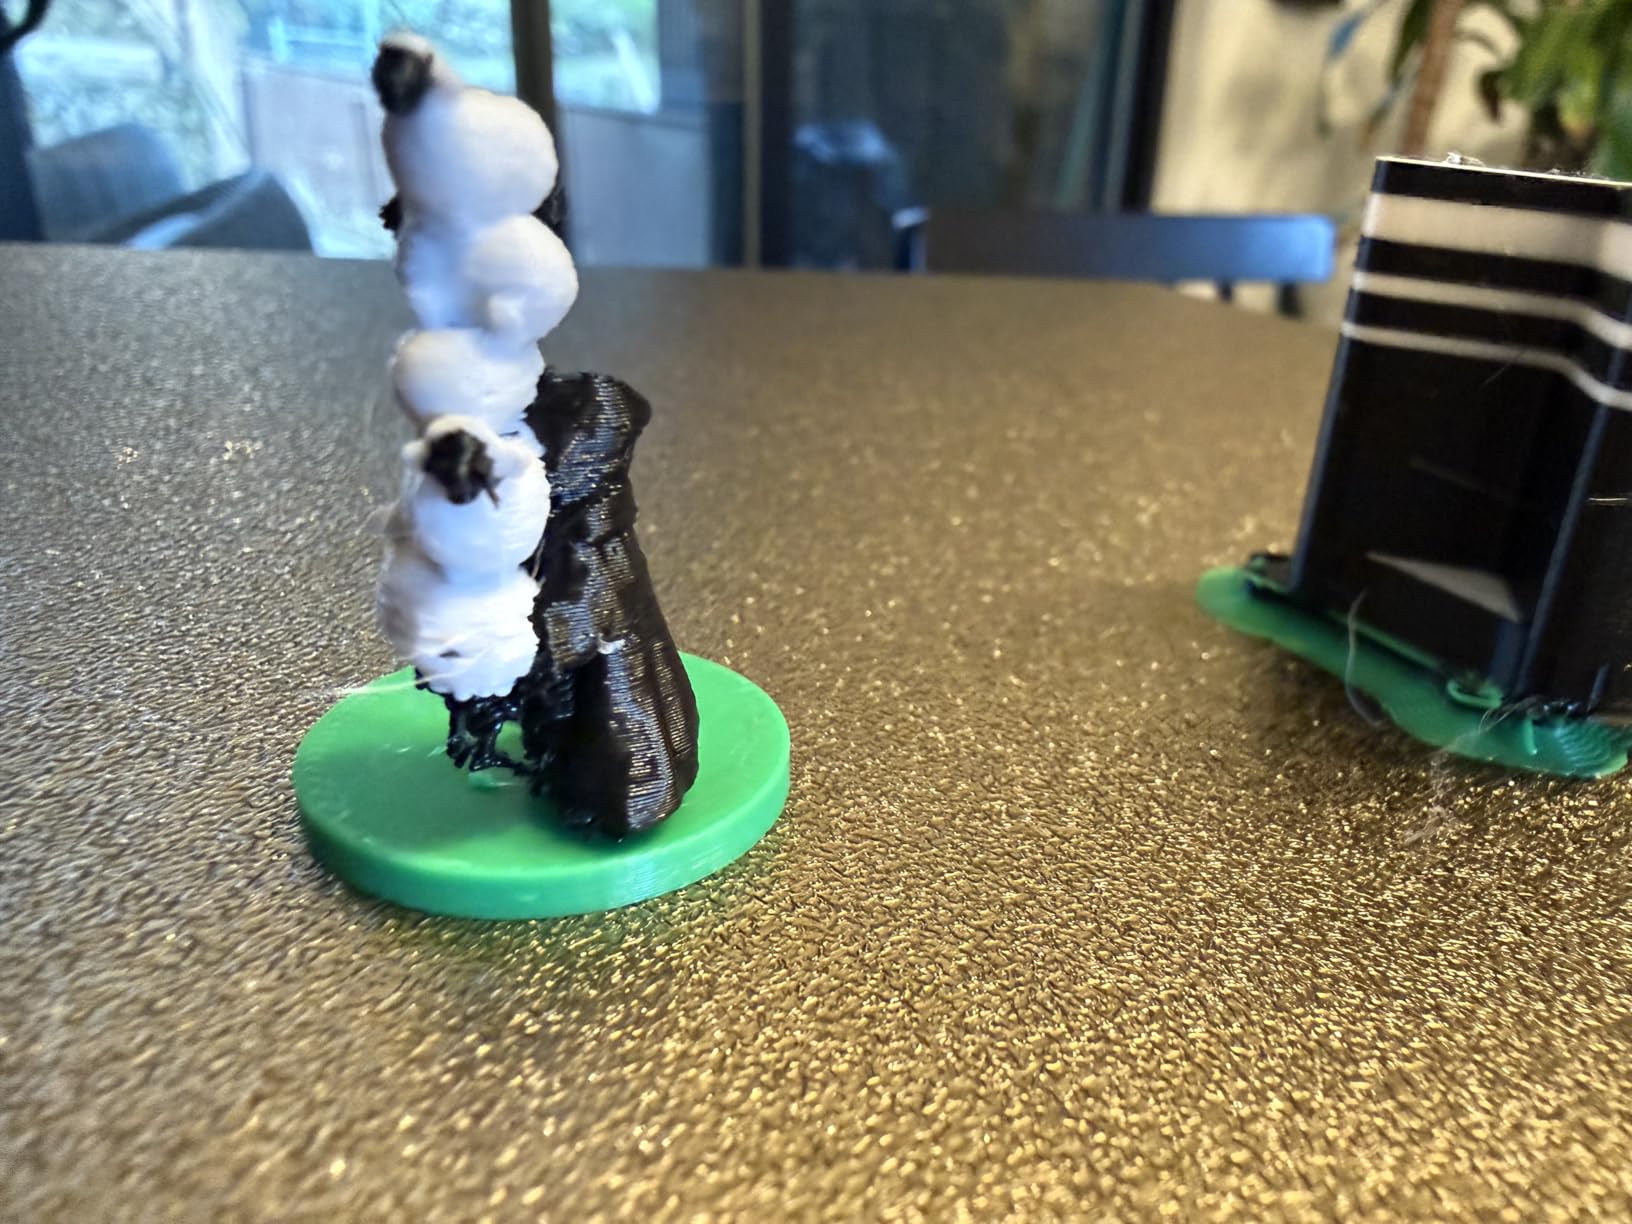
Automatic calibration on power up means there are no paper clearance steps and no manual mesh to chase. Owners report full-size cosplay helmets printing without splitting the model, and several cite QIDI customer support as fast with tracked replacement parts, which matters a lot when a customer service question eats a build weekend.
On motion, closed-loop X and Y motors with 800mm/s top speed and 30000mm/s2 acceleration, plus a 2mm lead screw with an anti-backlash nut on Z, keep layers consistent on tall prints. That Z detail is what stops visible banding on a 300mm-tall helmet shell.
Who the QIDI Max4 Combo suits
This suits cosplayers printing ASA, ABS-CF or PC shells who want the warping control built in rather than retrofitted. If your convention is outdoors, in summer, or reached through a hot car park, a thermally controlled chamber is the difference between a prop that survives the day and one that cracks in the car.
It also suits anyone who prints armour that has to flex slightly. Fibre-reinforced filaments give a toughness that plain PLA cannot match, and 390 by 390 by 340mm covers most chest plates and helmet shells without splitting. Several owners report full-size helmets printing unsplit.
Who should skip the QIDI Max4 Combo
Skip it for a small apartment. At 120 pounds and 28 by 28 by 30 inches, this is the heaviest machine in the group and needs a purpose-built table with real load capacity. You also need clearance around the chamber for door swing and for the camera view.
Be cautious on multi-colour. The review base is small at 30 reviews, and owners report the four-filament BOX magazine tangling during retraction and not auto-switching on runout. BOX sync with QIDI Studio or Orca is also described as inconsistent, so test it before relying on it for a deadline build.
6. Anycubic Kobra S1 Max Combo – Best Enclosed 350mm Cube with Drying
Anycubic Kobra S1 Max Combo 3D Printer, Large Build Size 350x350x350 mm³
350mm enclosed CoreXY
600mm/s
65C chamber
ACE 2 Pro 4-color
Pros
- 350mm cube inside a fully enclosed CoreXY frame with a 65C chamber
- ACE 2 Pro handles filament drying and colour changes reliably
- LeviQ 3.0 49-point leveling gets a good first layer without manual work
- Owners report clean layers with no splitting on long full-bed prints
- Side-mounted waste chute is easier to reach than a rear placement
Cons
- Bundled slicer is locked down and third-party slicers cannot be used
- AI failure detection triggers often and the filament sensor can false-detect
- Lightweight plastic-heavy construction despite the large frame
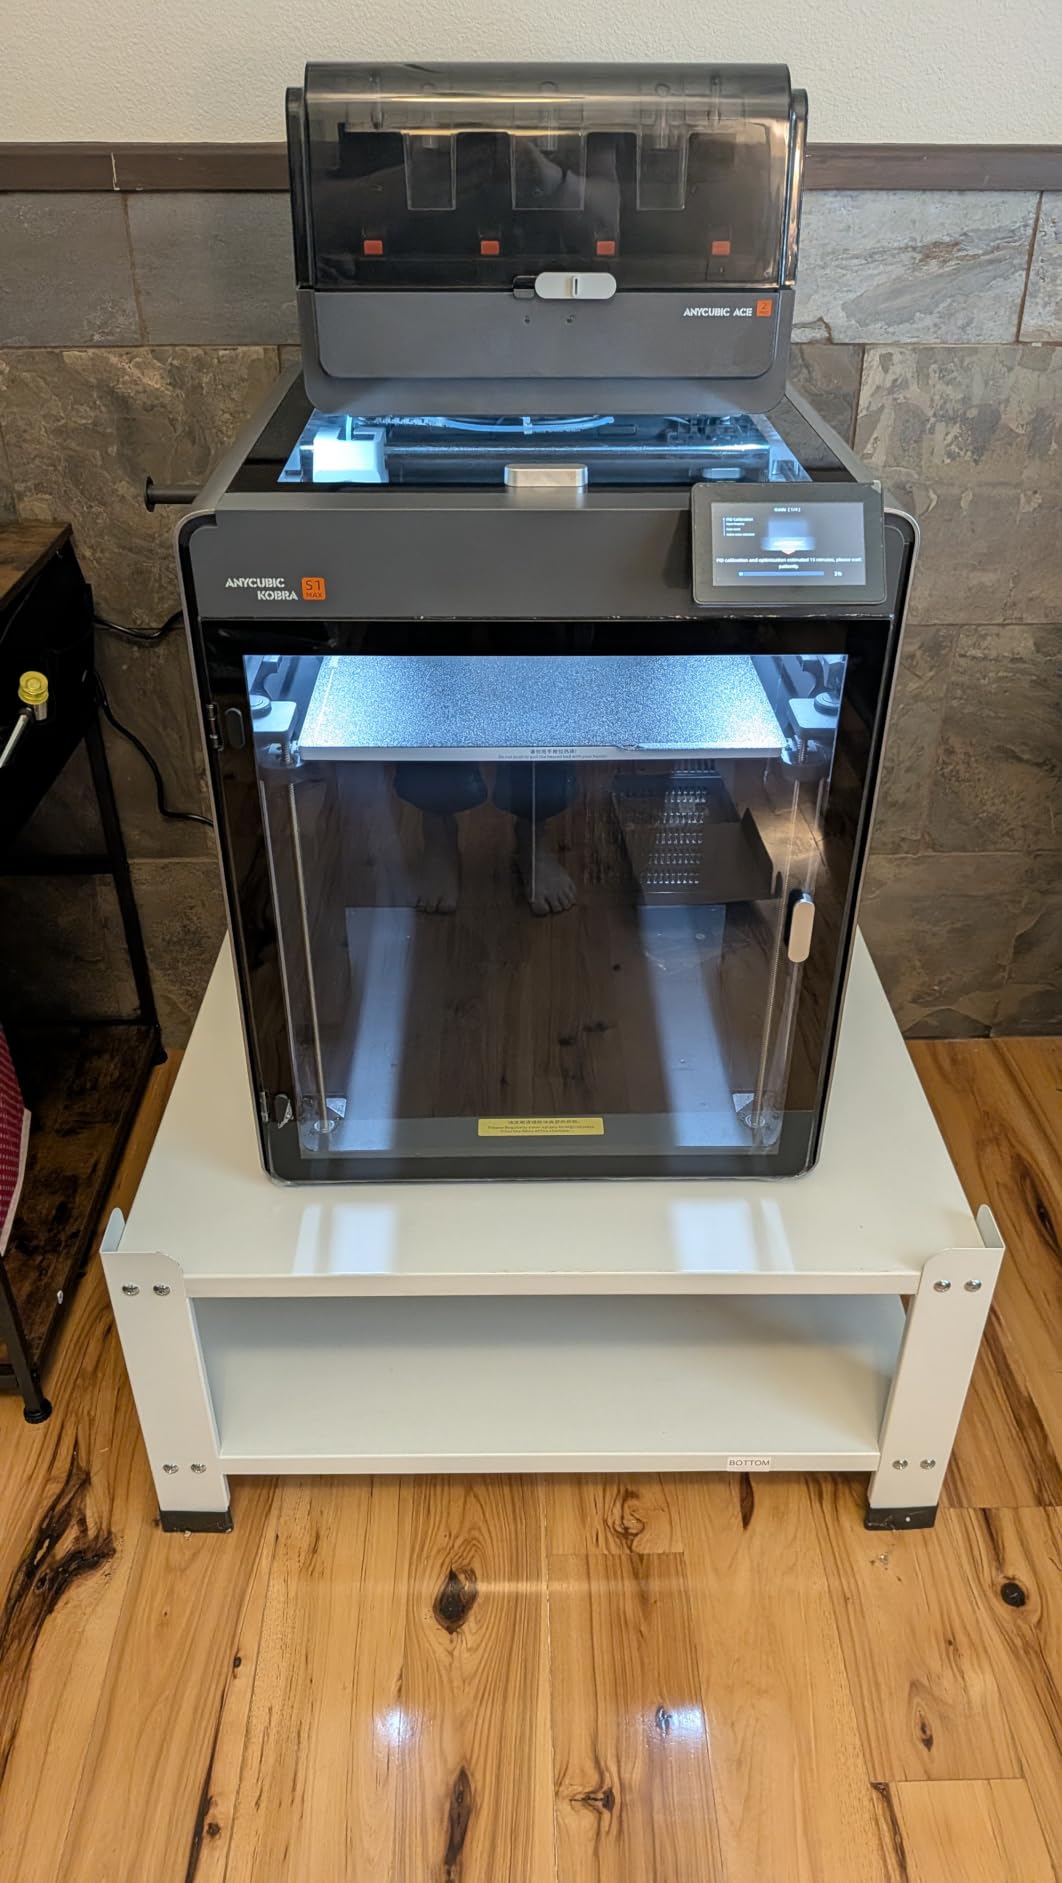
What stands out here is unusual rather than fast. A 65C heated chamber inside a fully enclosed 350mm cube is a combination you rarely see in this tier, and it is the reason this machine handles ABS and ASA while an open frame of the same size cannot. The all-metal CoreXY chassis with 600mm/s and 20000mm/s2 acceleration handles long prints without the frame flex that spoils tall pieces.
The ACE 2 Pro is included rather than sold separately, and it does two jobs. It dries filament inside the unit, which matters more for cosplay than it sounds like because damp PETG and ABS print with visible roughness and poor layer adhesion, and it delivers native four-colour printing with expansion to 16 colours using four boxes.
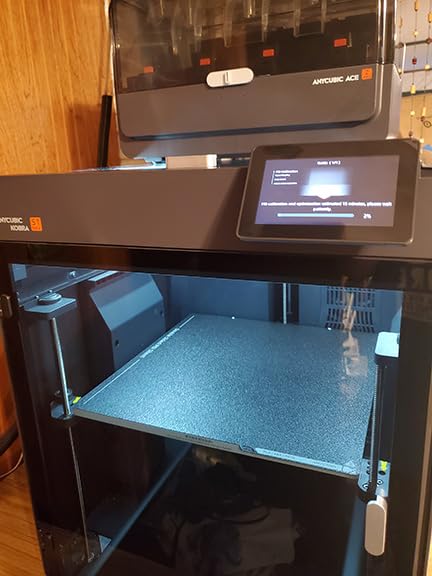
LeviQ 3.0 with 49-point auto leveling and real-time flow calibration is what gets a large first layer down without manual bed work. On a 350mm plate, a 49-point mesh is denser than most competitors manage, and owners report clean layers with no layer splitting on long full-bed prints, which is the specific failure cosplayers hit with big armour shells.
The side-mounted waste chute is a small thing worth noticing. On most multi-colour machines the purge waste chute sits at the back where you cannot reach it without moving the printer, and with a full-size chamber like this, accessibility saves real time between colour changes.
Who the Kobra S1 Max suits
This suits cosplayers who want an enclosed, heated machine with multi-colour and drying in a single purchase. If you are working in a bedroom and want ASA armour without building your own enclosure, the 65C chamber removes the single biggest reason people avoid ABS.
It also suits anyone printing in a room where damp filament is a problem. The integrated drying in the ACE 2 Pro is the quiet feature that prevents more failed armour prints than any speed number.
Who should skip the Kobra S1 Max suits
Skip it if you care about slicer choice. The bundled slicer is locked down and third-party slicers cannot be used, which removes a lot of flexibility when you want custom supports on a complex chest plate or a specific infill pattern. The review base is also thin at 20 reviews, so there is less long-term data behind it.
Skip it if you dislike false alarms. AI failure detection reportedly triggers frequently and the filament sensor can false-detect, and one long-term owner running several Kobra Max units reports repeated errors and wasted filament on complex multi-colour jobs. At 77.8 pounds it is also plastic-heavy for the frame size, so treat the shell as less rigid than the metal competitors.
7. Creality Ender 5 Max – Best for Print Farms and Volume per Cubic Millimetre
Creality Ender 5 Max 3D Printer 400×400×400mm Large Build Volume, 700mm/s Fast Printing Speed, 64-Point Auto Leveling, All-Metal Frame & Dual Gear Extruder, Multi-Printer Control Over WLAN
400x400x400mm volume
700mm/s CoreXY
64-point leveling
70.4 lb
Pros
- True 400mm cube at the lowest volume per cubic millimetre in this roundup
- Owners report hundreds of hours of reliable single-colour production
- Works across PLA+ PETG PETG-CF ASA ABS and HT-PLA
- WLAN grouped control suits running several machines
- Die-cast frame and linear rail hold up on tall heavy models
Cons
- Ships without an enclosure and corner lift is common without one
- Reported bed warp and slow bed heat-up on some units
- Cannot pass filament mid-print so double-sized spools are needed
The Ender 5 Max answers the question of how much build volume you can get per unit of money spent, and the answer is a lot. A true 400mm cube with 700mm/s CoreXY motion, a die-cast aluminium frame and a 1000W rapid-heating bed covers more useful print area than anything else near this tier.
For a cosplayer producing copies, that is the entire pitch. Owners report hundreds of hours of reliable single-colour production, and WLAN multi-printer control with grouped management and a tri-colour status indicator is exactly what you need when three machines are running different parts of the same armour set overnight.
The material range is broader than the open-frame reputation suggests. Owners run PLA+, PETG, PETG-CF, ASA, ABS and HT-PLA through it, and HT-PLA is worth a special mention for props that sit in a hot vehicle. The 64-point auto leveling with automatic Z-offset handles first-layer contact without manual paper tests.
A die-cast frame with an X-axis linear rail is a genuine step up in rigidity for tall or heavy models. Ringing shows up as a wavy surface on a tall forearm bracer, and the linear rail plus reinforced frame is what keeps a 300mm vertical print looking flat.
Who the Creality Ender 5 Max suits
This suits cosplayers who make multiples: convention swag, spare gauntlets for friends, replacement pieces after a drop, or props for a group project. The 400mm cube means a full chest front prints in one job, and running two or three of these through WLAN management is far more productive than one large machine printing serially.
It also suits anyone who wants large format without a large commitment. The 15.7 inch cube footprint is smaller than most 400mm machines and it comes in at 70.4 pounds, so it is easier to place and move than the heavier builds in this list.
Who should skip the Creality Ender 5 Max
Skip it if you intend to print ASA or ABS straight out of the box. It ships without an enclosure, and many owners add one; several report warp and corner lift without it. If you are willing to add an enclosure, that changes the answer, but budget for it.
Skip it if bed reliability matters more to you than volume. Owners report bed warp and surface finish problems on some units, including replacements, along with longer bed heat-up than the advertised figure and broken extruder casings on early hardware. It also cannot pass filament mid-print, so plan on double-sized spools for long runs.
8. Phrozen Sonic Mega 8K S – Best for Batched Resin Details
phrozen Sonic Mega 8K S LCD/MSLA Resin 3D Printer, 43 µm High Resolution, 15 inch Mono LCD Screen, Fast Production Accurate Details, Large Printing Size L12.99xW7.28xH11.81 Printing Volume
33x18.5x30cm resin volume
15 inch 8K mono LCD
43um XY
ACF film
57.3 lb
Pros
- Very large resin plate batches many parts in one exposure cycle
- 43um 8K mono LCD holds crisp detail on engraved costume surfaces
- ACF film and lift-up lid reduce suction on large builds
- Built-in metal drip hanger recovers resin from prints
- Rated for batches of up to 80 miniatures in about 90 minutes
Cons
- No WiFi camera vat heater or air filtration
- 43um pixel size is coarser than 16K printers
- Reports of failed main boards LCDs and power supplies
The Sonic Mega 8K S is a resin machine aimed squarely at throughput. The 33 by 18.5 by 30cm plate is large for MSLA, and rated output is up to 80 detailed miniatures in roughly 90 minutes, which makes it the right tool when your cosplay project needs dozens of identical small parts rather than one large shell.
Resolution is the other argument. A 15-inch 8K mono LCD at 43um XY holds crisp detail on engraved costume surfaces, and engraved panel lines, rivets and textured grip patterns are where resin separates itself from a 0.4mm nozzle. If your design language depends on surface texture rather than silhouette, that difference is visible at convention distance.
The ACF fluoropolymer film with TR300 resin is rated for prints up to 10 times faster than standard mid-size machines, and it also addresses a real problem with large resin plates: suction cracking the part off the build plate. The lift-up lid design also helps, since it accesses the plate in tighter workspaces than a flip-open cover needs.
The built-in metal drip hanger drains prints back into the vat, which on resin adds up to a meaningful saving across a batch of 80 small parts. Owners with tuning experience report the machine becomes very reliable once the exposure and profile settings are dialled in.
Who the Phrozen Sonic Mega 8K S suits
This suits cosplayers producing lots of small identical parts. Badges, chain links, scale rivets, buckle components and costume jewellery all batch well on a plate this size, and an 8K screen at 43um keeps the small features readable after printing.
It also suits prop makers who need fast turnaround on detail passes. If a chest plate is painted but the emblem needs to be re-cast the week before an event, an hour and a half of unattended exposure is a very different proposition from a filament print that runs overnight.
Who should skip the Phrozen Sonic Mega 8K S
Skip it if you want the newest feature set. There is no WiFi, no onboard camera, no resin vat heater and no air filtration, all of which newer competitors in this list do include. Vat temperature control in particular is what keeps a large first layer reliable, and this machine makes you manage that manually.
Skip it if you need very fine scale detail or if you move machines. Several owners report failed main boards, LCD failures and power supplies dying, sometimes after the machine has been moved, and 43um is coarser than 16K printers. The reported 3-month warranty period is short for a machine of this type.
9. Snapmaker Artisan – Best for Dual-Extruder Trim Work
Snapmaker Artisan 3D Printer,Dual Extrusion 3D Printing,400x400x400mm Large Printing Size,Industrial-Grade Linear Rails Auto Bed Leveling,Quick Swap Modular Design,with 7″ Touchscreen
400x400x400mm volume
Dual extrusion
Industrial linear rails
7 inch touchscreen
Pros
- Dual extrusion prints two-colour trim and detail work in one job
- 400mm cube matches the largest FDM plates here
- Modular toolheads swap in about a minute
- Linear rails and one-piece die-cast base add real rigidity
- 7-inch touchscreen shows both nozzle temperatures and G-code preview
Cons
- Lowest review count in this group at 25 with a middling 3.8 average
- Dual extrusion doubles print time versus single-toolhead machines
- Laser and CNC functions need a different bundle
The Artisan’s reason to exist is the second extruder. Two-colour trim, stripe details and hard-edged panel lines print in a single job rather than in separate passes, and with a 7:5:1 planetary gearing system the second toolhead feeds reliably enough for detail work rather than only decorative blobs.
The 400mm cube matches the largest FDM plates in this list, so shell size is not a compromise here. CNC-ground micron-level steel linear rails and a one-piece die-cast base plate give the rigidity that tall prints need, and the 7-inch touchscreen with live status, dual nozzle temperatures and G-code preview is genuinely useful at this size because you can see what is happening without a phone.
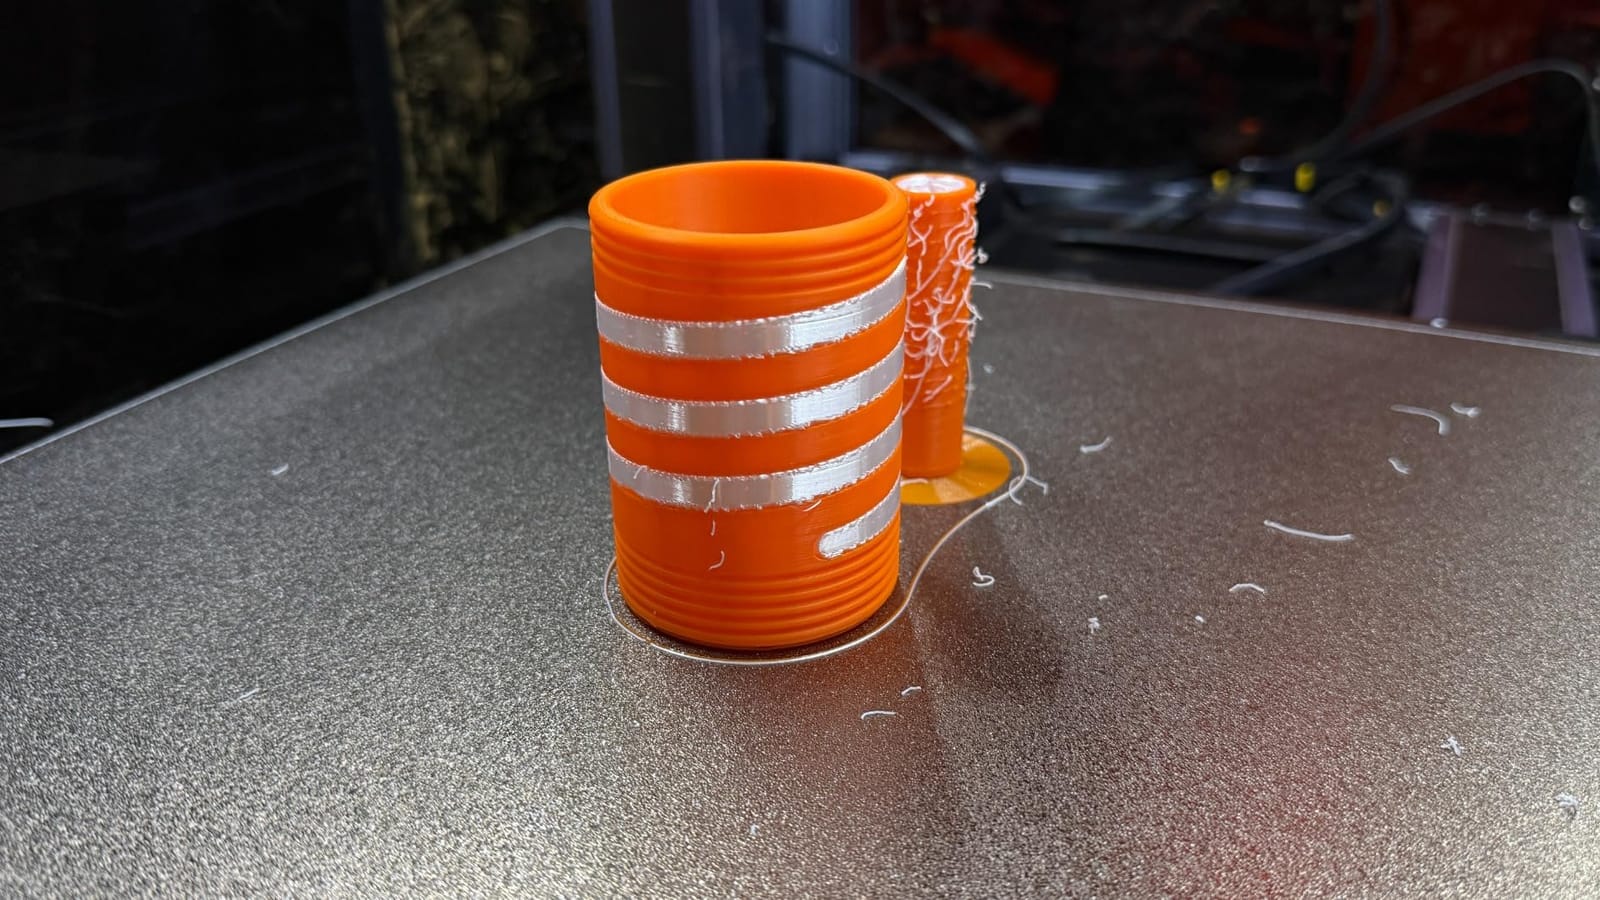
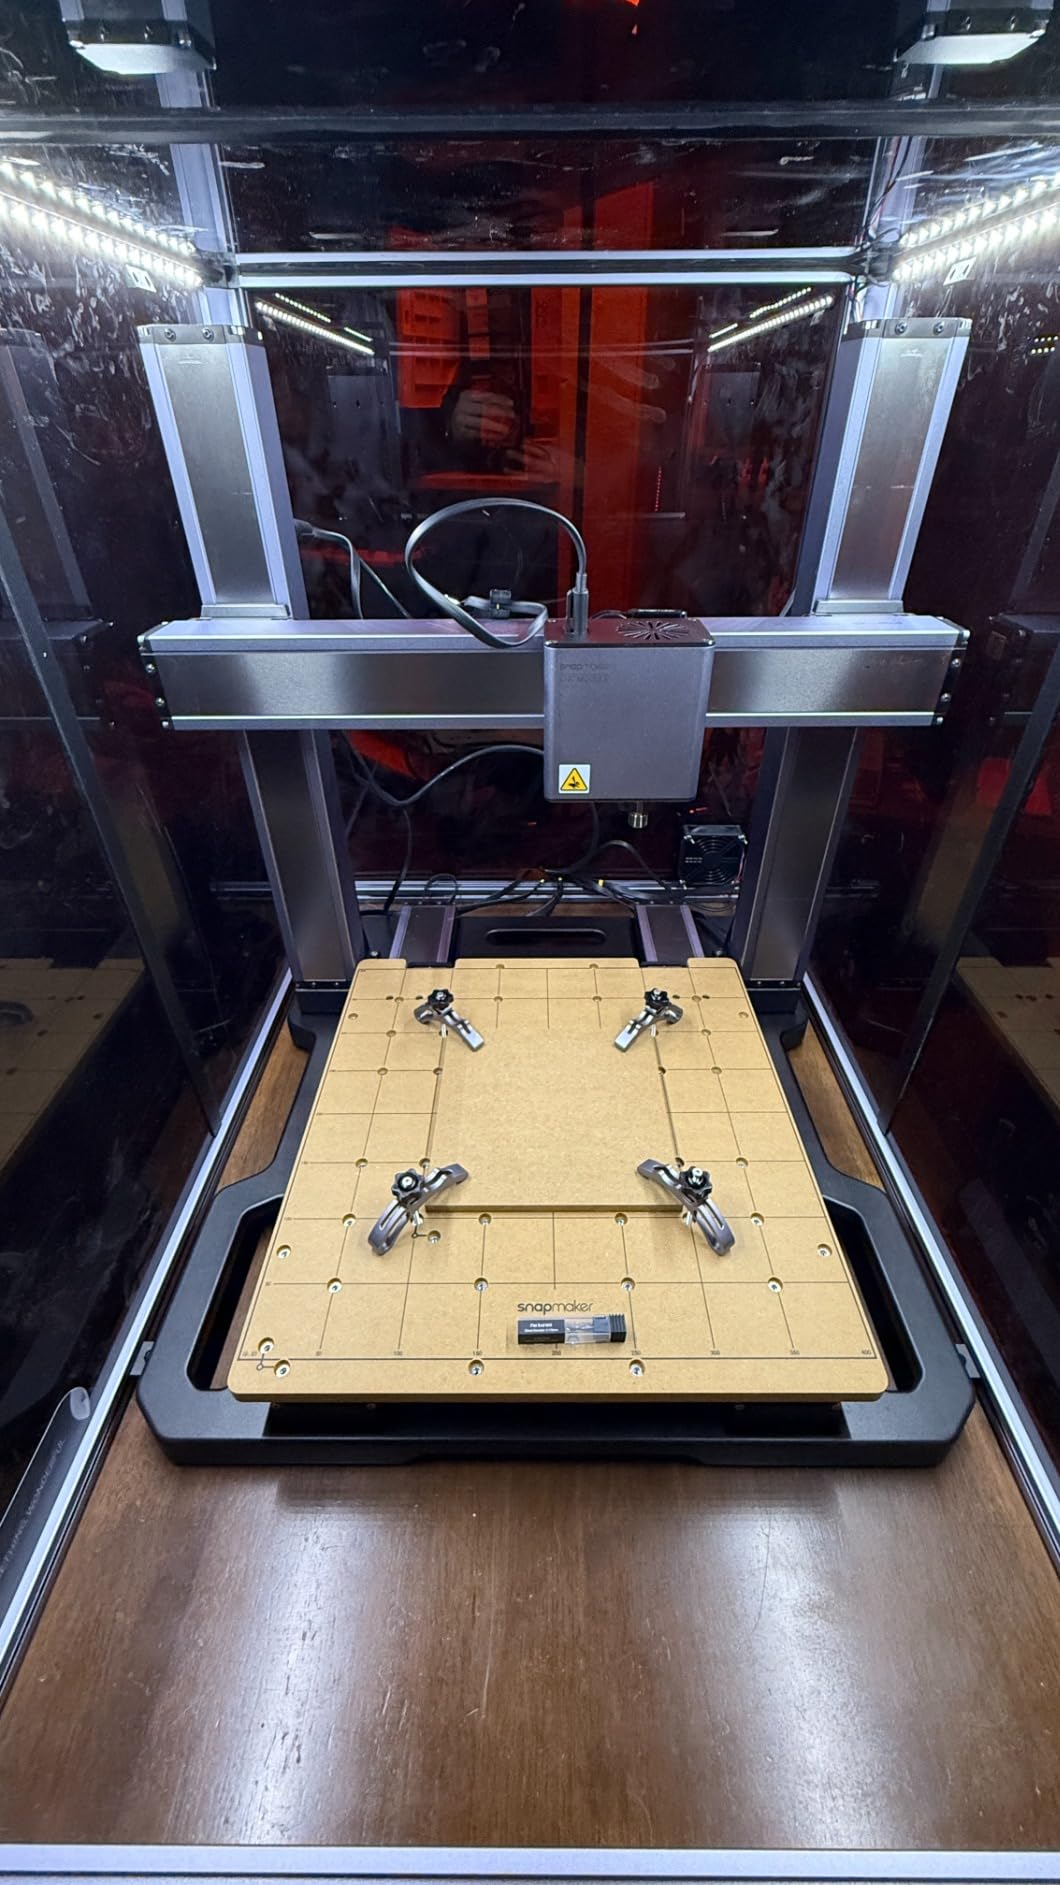
The modular design is the underrated part. Quick-swap toolheads and platforms move between printing, laser and CNC in about a minute, so a prop that needs a milled aluminium bracket or an etched detail plate can be made on the same machine without buying different hardware.
Material support covers the usual cosplay range with the dual extruder: PLA, ABS, PETG, TPU and Nylon. That TPU support is worth noting for straps, gauntlet trim and flexible costume elements that filament-only single-toolhead machines often struggle with.
Who the Snapmaker Artisan suits
This suits cosplayers whose designs rely on two-colour hard breaks rather than on gradients. Striped armour trim, black-and-white heraldry and panel accents all come out in one job, which saves the masking, priming and second spray session that hand-painting a hard edge demands.
It also suits prop builders who work in more than one medium. The swap capability means the same footprint handles printing, light laser work on detail plates and small CNC work on brackets and mounts, which covers a lot of the non-printing work in a costume build.
Who should skip the Snapmaker Artisan
Skip it if review volume matters to your confidence. This machine carries a 3.8 star average, and it has the thinnest review base at 25, with 16% three-star and 8% two-star feedback. That is a small sample, so treat the figures as indicative rather than settled.
Skip it if print time is the priority. Dual extrusion roughly doubles print time compared with a single-toolhead machine, because the nozzle changes tools and parks between them. That is a bad trade on a 40-hour chest plate, and a CFS or ACE style single-nozzle multi-colour system handles colours more efficiently on large parts.
10. Original Prusa XL 5-Toolhead – Best for Open Multi-Material Workflows
Original Prusa XL 5-Toolhead Multi-Material Large-Format CoreXY 3D Printer
360x360x360mm volume
Five toolheads
Segmented bed zones
Open firmware
Pros
- Five toolheads print a whole multi-material costume set unattended
- Open firmware and broad slicer compatibility with no vendor lock-in
- Segmented heated bed zones reduce warping across a large plate
- Includes Satin sheet and 1kg Prusament PLA
- Lifetime technical assistance and 24-hour support
Cons
- Lowest average rating in this group at 3.5
- By far the most expensive machine here
- Very large 35-inch footprint needing dedicated bench space
The Prusa XL is the specialist option. Five independent toolheads mean up to five materials or colours in a single job, so a full costume assembly made of multiple plastics or colours can run unattended without anyone swapping spools. CoreXY motion holds speed and precision through the frequent tool changes that the design demands.
Segmented intelligent heated bed zones are the quiet hero here, and they matter more on a large format machine than most spec sheets admit. A chest plate the width of the plate sits across two or three zones with different temperatures, and controlling those zones independently is a direct defence against the corner lift and edge warp that ruin long flat prints.
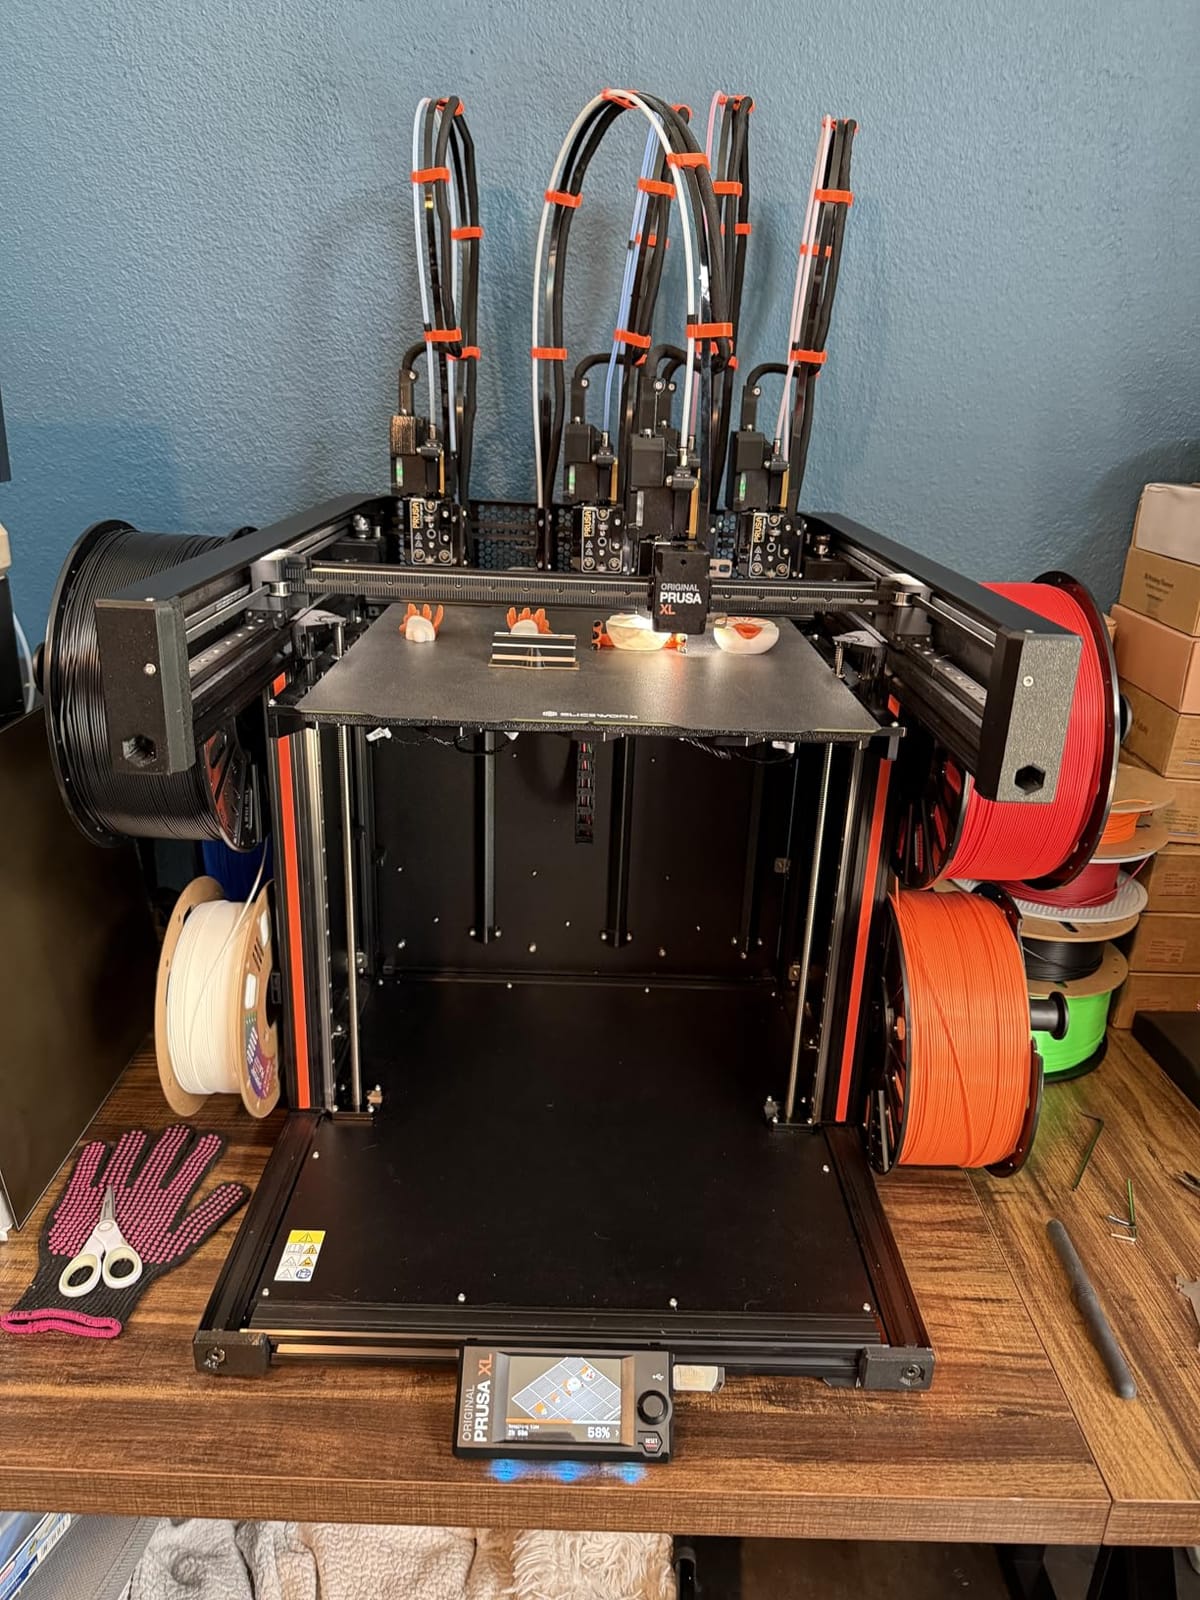
The open ecosystem is the real argument for experienced builders. No vendor lock-in on firmware or slicers, broad compatibility, and integration with the Prusa software tools and the Printables.com model library, which is a large source of pre-split cosplay files already prepared for this build volume.
It includes a Satin print sheet and a 1kg spool of Prusament PLA, so it can print out of the box once the separately shipped parts are fitted. Lifetime technical assistance is a genuine benefit on a machine where you will be running multi-material jobs that take a long time.
Who the Original Prusa XL suits
This suits cosplayers building a complete multi-part assembly where materials differ by function. A soft TPU strap section, a tough PETG bracket and rigid PLA armour panels can all print in one job, and the tool management is designed to reduce material waste during transitions.
It also suits anyone who wants to be independent of their printer vendor. Open firmware and broad slicer support mean a firmware problem never locks you out of your own machine, which is a real consideration for a machine that will sit on a shelf running for years.
Who should skip the Original Prusa XL
Skip it on price sensitivity. It is by far the most expensive machine here, at roughly four times the cost of the tier below, and it carries the lowest average rating in the set at 3.5 stars with 16% one-star and 13% two-star reviews. The 29-review sample is small and skews toward experienced buyers, so expectations may be running ahead of reality for a first large format purchase.
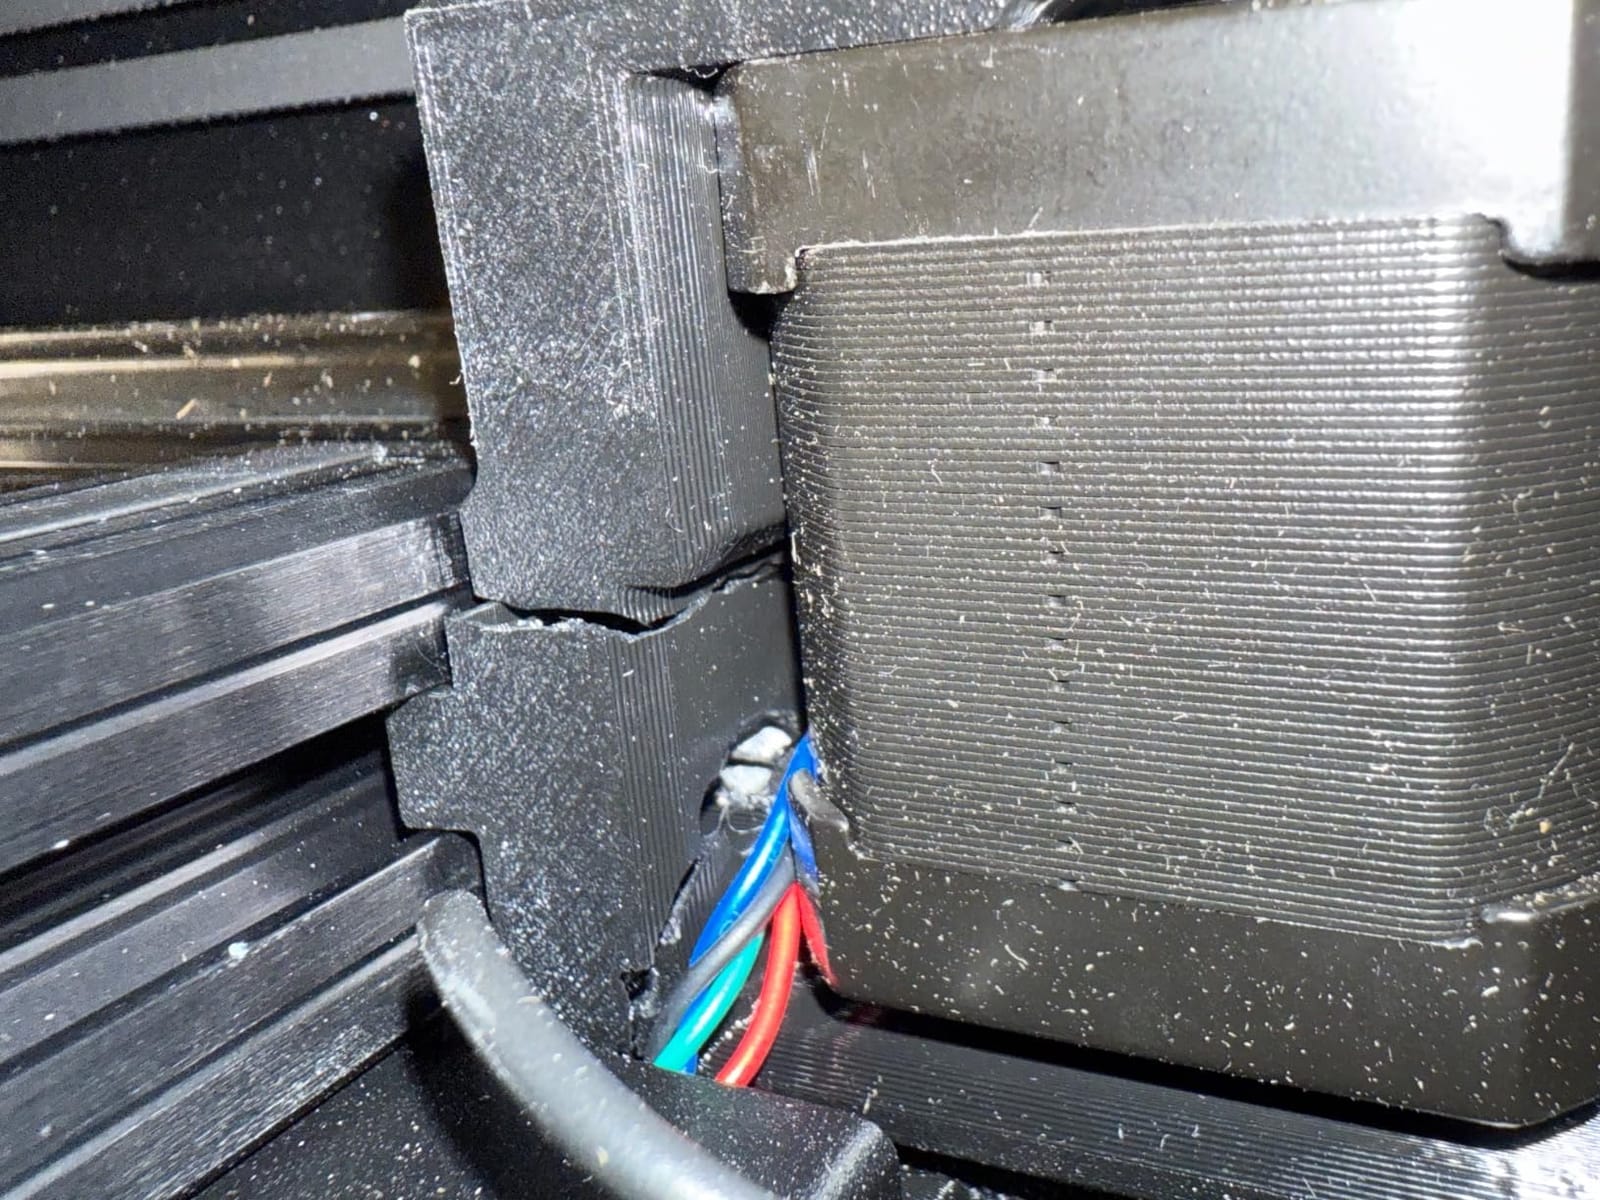
Skip it for space. At 35.43 by 31.49 by 31.49 inches it needs dedicated bench space, more than any other machine here. Tool changes also add cycle overhead even when you are printing single-material parts, and several components ship separately for transport protection, so allow an hour for assembly before the first print.
Build Volume Tiers Mapped to Real Cosplay Pieces
Match the build volume to the piece count, not to the price. Every split you make becomes a seam, and every seam becomes 15 to 30 minutes of sanding, filling and painting before the piece is ready for a spray booth.
300 x 300 x 400mm – a stylised helmet, bracer or boot armour. A helmet takes 2 pieces and a chest plate 3 to 4. Best for first large format builds and apartment printing.
350 x 350 x 350mm – a full helmet and chest armour set. A helmet takes 2 pieces and a chest plate 2 to 3. Best for multi-colour armour sets and enclosed printing.
360 x 360 x 360mm – full armour built from mixed materials. A chest plate takes 2 pieces and a helmet 2. Best for multi-material builds and vendor-independent workflows.
390 x 390 x 340mm – a full breastplate plus forearm armour. A chest plate takes 1 to 2 pieces. Best for ABS, ASA and carbon-fibre reinforced shells.
400 x 400 x 400mm – a full front chest plate and oversized props. A chest plate takes 1 piece. Best for print farms, prop production and copy runs.
500 x 500 x 500mm – full armour shells, tall weapon props and staff sections. A helmet takes 1 piece and a chest plate 1 piece. Best for maximum piece size and the minimum seam count.
The jump from 300mm to 400mm changes your workload more than any other single decision. At 300mm you are assembling a helmet from sections and gluing them; at 400mm you are printing a solid front shell and doing surface finishing. That is a different hobby, and the difference in finishing hours is large.
For oversized props such as swords, staffs and backpack shells, Z height matters more than footprint. A 300 by 300 by 400mm machine can print a taller section than a 350mm cube, so check the third dimension before assuming a wider plate means fewer splits. Where the printed armour is joined by vinyl signage at the booth, our picks for wide format printers for poster printing handle the surrounding graphics.
Best Filaments for Cosplay Armor and Props
Start with PLA or PLA+ for structure, move to PETG for anything that flexes or takes impact, and treat ABS and ASA as enclosed-machine materials. TPU earns its place on straps, trim and flexible costume sections rather than on shells.
The community consensus is straightforward: PLA for structure, PETG for parts that flex or take impact, and ASA or ABS only if the machine is enclosed and preferably chamber heated. PLA is perfectly adequate for most cosplay, and its main weakness is that it becomes brittle in a hot vehicle on the way to an event.
PLA and PLA+ – rigid with low heat resistance. Best for helmets, chest plates, props and first builds. Brittle in a hot car and softens near a heat gun.
PETG – tougher with moderate heat resistance. Best for gauntlets, boots, straps and buckles that take impact. Stringy, and needs tuning for overhangs.
ABS – impact resistant with good heat resistance. Best for prop shells worn outdoors or transported in a vehicle. Warps without an enclosure, and fumes while printing.
ASA – UV and weather resistant. Best for outdoor convention armour and helmets worn in sun. Warps badly without a heated chamber.
TPU – flexible and abrasion resistant. Best for straps, flexible trim and undersuit connection pieces. Slow to print, poor on overhangs, and needs direct drive.
Carbon-fibre reinforced PETG or ABS – very stiff with high heat resistance. Best for brackets, weapon cores and load-bearing armour. Abrasive, and needs a hardened nozzle.
For wearable armour, community advice leans on four walls and 15% gyroid infill, with 15% lightning infill for very large props. Gyroid holds a curved shell together well without adding much weight, which matters when you are carrying a chest plate through a convention hall for ten hours.
Print time is where filament choice quietly affects your deadline. Thick walls on a large shell can double the hours on a machine without input shaping, so a high-flow nozzle or a fast CoreXY platform effectively buys you back the weekend you need for finishing.
Enclosed vs Open Frame for ABS and ASA
An enclosure is the minimum for ABS and ASA, and a heated chamber is what turns a large flat plate from a coin flip into a reliable print.
Large flat pieces fail at the corners first, because the centre of the plate is held down while the edges cool and contract at a different rate. On an open frame in a room with any air movement, that differential is large enough to lift a corner off the bed at hour 20 of a chest plate print. An enclosure keeps the air around the part still and close to the temperature of the bed.
Heated chamber printers on this list are the QIDI Max4 Combo at 65C, the Anycubic Kobra S1 Max at 65C, and the Creality K2 Plus Combo at 60C. The Sovol SV08 MAX reserves a chamber interface but does not include the module. If your plan depends on ASA, only buy from the first group.
Always print a small test coupon before committing 30 hours. A simple 150mm square in the same material, with the same bed and chamber settings, tells you in two hours whether the machine will hold a full-size plate. If the display end of the build involves large vinyl graphics rather than printed parts, our guide to grand format printers for billboards covers that hardware instead.
Post-Processing Workflow for Printed Cosplay
Finishing is where most of the hours go, and it is the step cosplayers most often underestimate before a convention deadline. Plan for it as a stage of the build rather than as cleanup after it.
Remove supports while the part is still slightly warm, working from the largest contact patches down so you do not chip an edge.
Sand through a grit sequence, typically 180, 400, 800 and 1200, changing grits often rather than going coarse to fine in one pass.
Fill any remaining gaps and layer-line artefacts with filler primer, which also gives paint something to grip.
Prime in thin coats to reveal defects under raking light before committing colour.
Paint base coats, then detail and airbrush, then finish with a clear coat to protect wear and printed texture.
The practical budgeting rule is to count finishing time per seam, not per print. A model split into six sections roughly triples the finishing time of the same model printed as one piece, which is why the 400mm and 500mm machines in this list pay for themselves before you consider print speed at all.
Plan the seam placement with the model in mind, not the printer. Seams that follow a panel line on the costume are free, because you would have drawn that line anyway, while a seam across a cheek or a chest centre is visible from across a room.
Footprint, Weight and Noise Before You Buy
Measure the table before you measure anything else. These machines range from a 29.2 pound open frame to a 120 pound chambered printer, and the heaviest units need a load-rated stand rather than a folding table.
Weighing up the data, the QIDI Max4 Combo is the heaviest at 120 pounds and the LONGER LK5 Pro the lightest at 29.2 pounds, with the rest sitting between 52.8 and 86.8 pounds. Dimensions matter as much as weight, because a machine you cannot approach from the front cannot have a large plate removed from it.
For noise, the deciding spec is usually the stepper drivers. Machines with TMC2208 and TMC2209 ultra-silent drivers run noticeably quieter than their size suggests, which matters when a 25-hour chest plate print starts at midnight in a shared flat.
If you are printing from an apartment and cannot have an enclosed machine on the floor, the honest answer is that PLA and PETG on an open frame will cover most cosplay builds. You give up ASA, you give up some rigidity on tall prints, and in exchange you can move the printer when the build is finished. Our guide to wide format printers for small spaces covers the same trade-off for other print types.
Frequently Asked Questions
How big of a 3D printer do I need for cosplay?
At least 300mm on one axis, and 350mm to 400mm is the sweet spot. A 256mm cube forces helmets into two or three pieces, while a 400mm cube can print a full front chest plate in one piece and remove the seams entirely.
What is the best large format 3D printer for cosplay builds?
The Sovol SV08 MAX, with a 500 by 500 by 500mm build volume, CoreXY motion at 700mm/s and a 300C hotend, is the strongest all-round pick. It handles full helmets, chest plates and oversized props as single prints, and its 1422 reviews give the deepest owner data in this group.
Which 3D printer is best for printing large figures?
For oversized props and tall figures, prioritise Z height and enclosed CoreXY motion. The Sovol SV08 MAX at 500mm cube height and the QIDI Max4 Combo with its 65C heated chamber both handle large shells without splitting, while the LONGER LK5 Pro gives 400mm of Z on the lightest frame here.
What is the best 3D printer for making cosplay armor?
Armor is mostly flat rigid shells, so build volume and bed stability decide the outcome. The Creality Ender 5 Max prints a full front chest plate in one piece at 700mm/s CoreXY motion, while the QIDI Max4 Combo adds a 65C chamber if you plan to print ASA or carbon-fibre reinforced shells.
Is PLA okay for cosplay?
Yes. PLA and PLA+ are the standard starting materials for helmets, chest plates and props because they print cleanly, sand well and take paint without fuss. The main limitation is heat, since PLA becomes brittle in a hot car on the way to an outdoor event, so use PETG or ASA for anything transported in a vehicle.
Is ABS filament more expensive than PLA?
Yes, ABS generally costs more per kilogram than PLA and it is heavier, so large parts weigh more in filament as well as in money. It also prints slower and needs an enclosed, preferably heated chamber, so the real cost difference comes from longer print times and machine requirements rather than the spool alone.
What are the downsides of ABS filament?
It warps on large flat plates without an enclosure, it gives off fumes while printing so ventilation matters, and it needs a higher nozzle temperature which adds to heat creep. On an open frame, a chest plate can lift at the corners after 20 hours of printing and waste the whole spool.
Do I need to post-process 3D printed cosplay pieces?
Almost always. Removing supports, sanding through a grit sequence, filling with primer and painting are standard steps for convention-ready pieces. Budget 15 to 30 minutes of finishing per seam, which is why a printer large enough to avoid splitting a helmet saves far more time than it costs.
Which Large Format Printer Should You Buy?
For most cosplayers building helmets and chest armour, the best large format 3D printer is the Sovol SV08 MAX, because its 500mm cube removes almost every split decision before you make it. If you need ASA or ABS with real warping control, the QIDI Max4 Combo is the pick, and if you want multi-colour detail with a heated chamber, the Creality K2 Plus Combo covers that.
Buy the LONGER LK5 Pro if you are starting out and want 400mm of Z height on the lightest frame we tested. Buy the Creality Ender 5 Max if you print copies and can add an enclosure yourself. Add a resin machine, either the ANYCUBIC Photon Mono M7 Max or the Phrozen Sonic Mega 8K S, once you need emblems and engraved detail rather than shells.
Whatever you choose, buy for the seam count rather than the speed figure. A printer that saves you six sections of a helmet saves roughly two to three hours of finishing per build, and that is the number that decides whether your armour is finished when the deadline arrives.